Dampits and Mutes
The following content is about humidity and muffled timbre.
Most cellos are made of wood - a material that expands and contracts with the humidity in the air. Depending on where you live, there are dryer times of year and more humid times of year. Maybe your cello handles it well, in which case you can skip the first half of this photo-demonstration-article! My cello however, has several times opened up a tiny bit in the lining, and once there was a crack going from under the bridge and roughly 10 cm down which scared me quite a bit when I saw it, but which was easily mended at the luthier’s.
Although a luthier can easily fix these cracks, it’s nice to not have it happen in the first place. That’s because of the economical expenses, because we don’t always have a luthier nearby, and because it’s nice to have the cello at home rather than somewhere it might feel lonely and awkward surrounded by a bunch of cellos it’s never met before…or maybe that’s just me.
So here I’ll show you what I use throughout the winter part of the year in an attempt to keep my cello happier. If you want more information you can really get nerdy and dig into the topic of wood and humidity online…something I have not done. [My natural tendency regarding anything at all is to learn enough to get by, so that I can spend time on the things I find fun instead. Believe me, I wish I was more nerdy sometimes!] There are other devices out there, such as a box to be placed inside the cello case. And some keep a bowl of water in the room.
☝ This is what I use. Why? It was recommended by a cello teacher I had many years ago, and the habit stuck with me until now. After some time (a few years, depending on how much it’s used) the sponge inside of the rubber tube kind of disappears in there (?) in which case I buy a new one. I therefore seized the opportunity to document the exciting process in this post. You’re welcome. 🙂
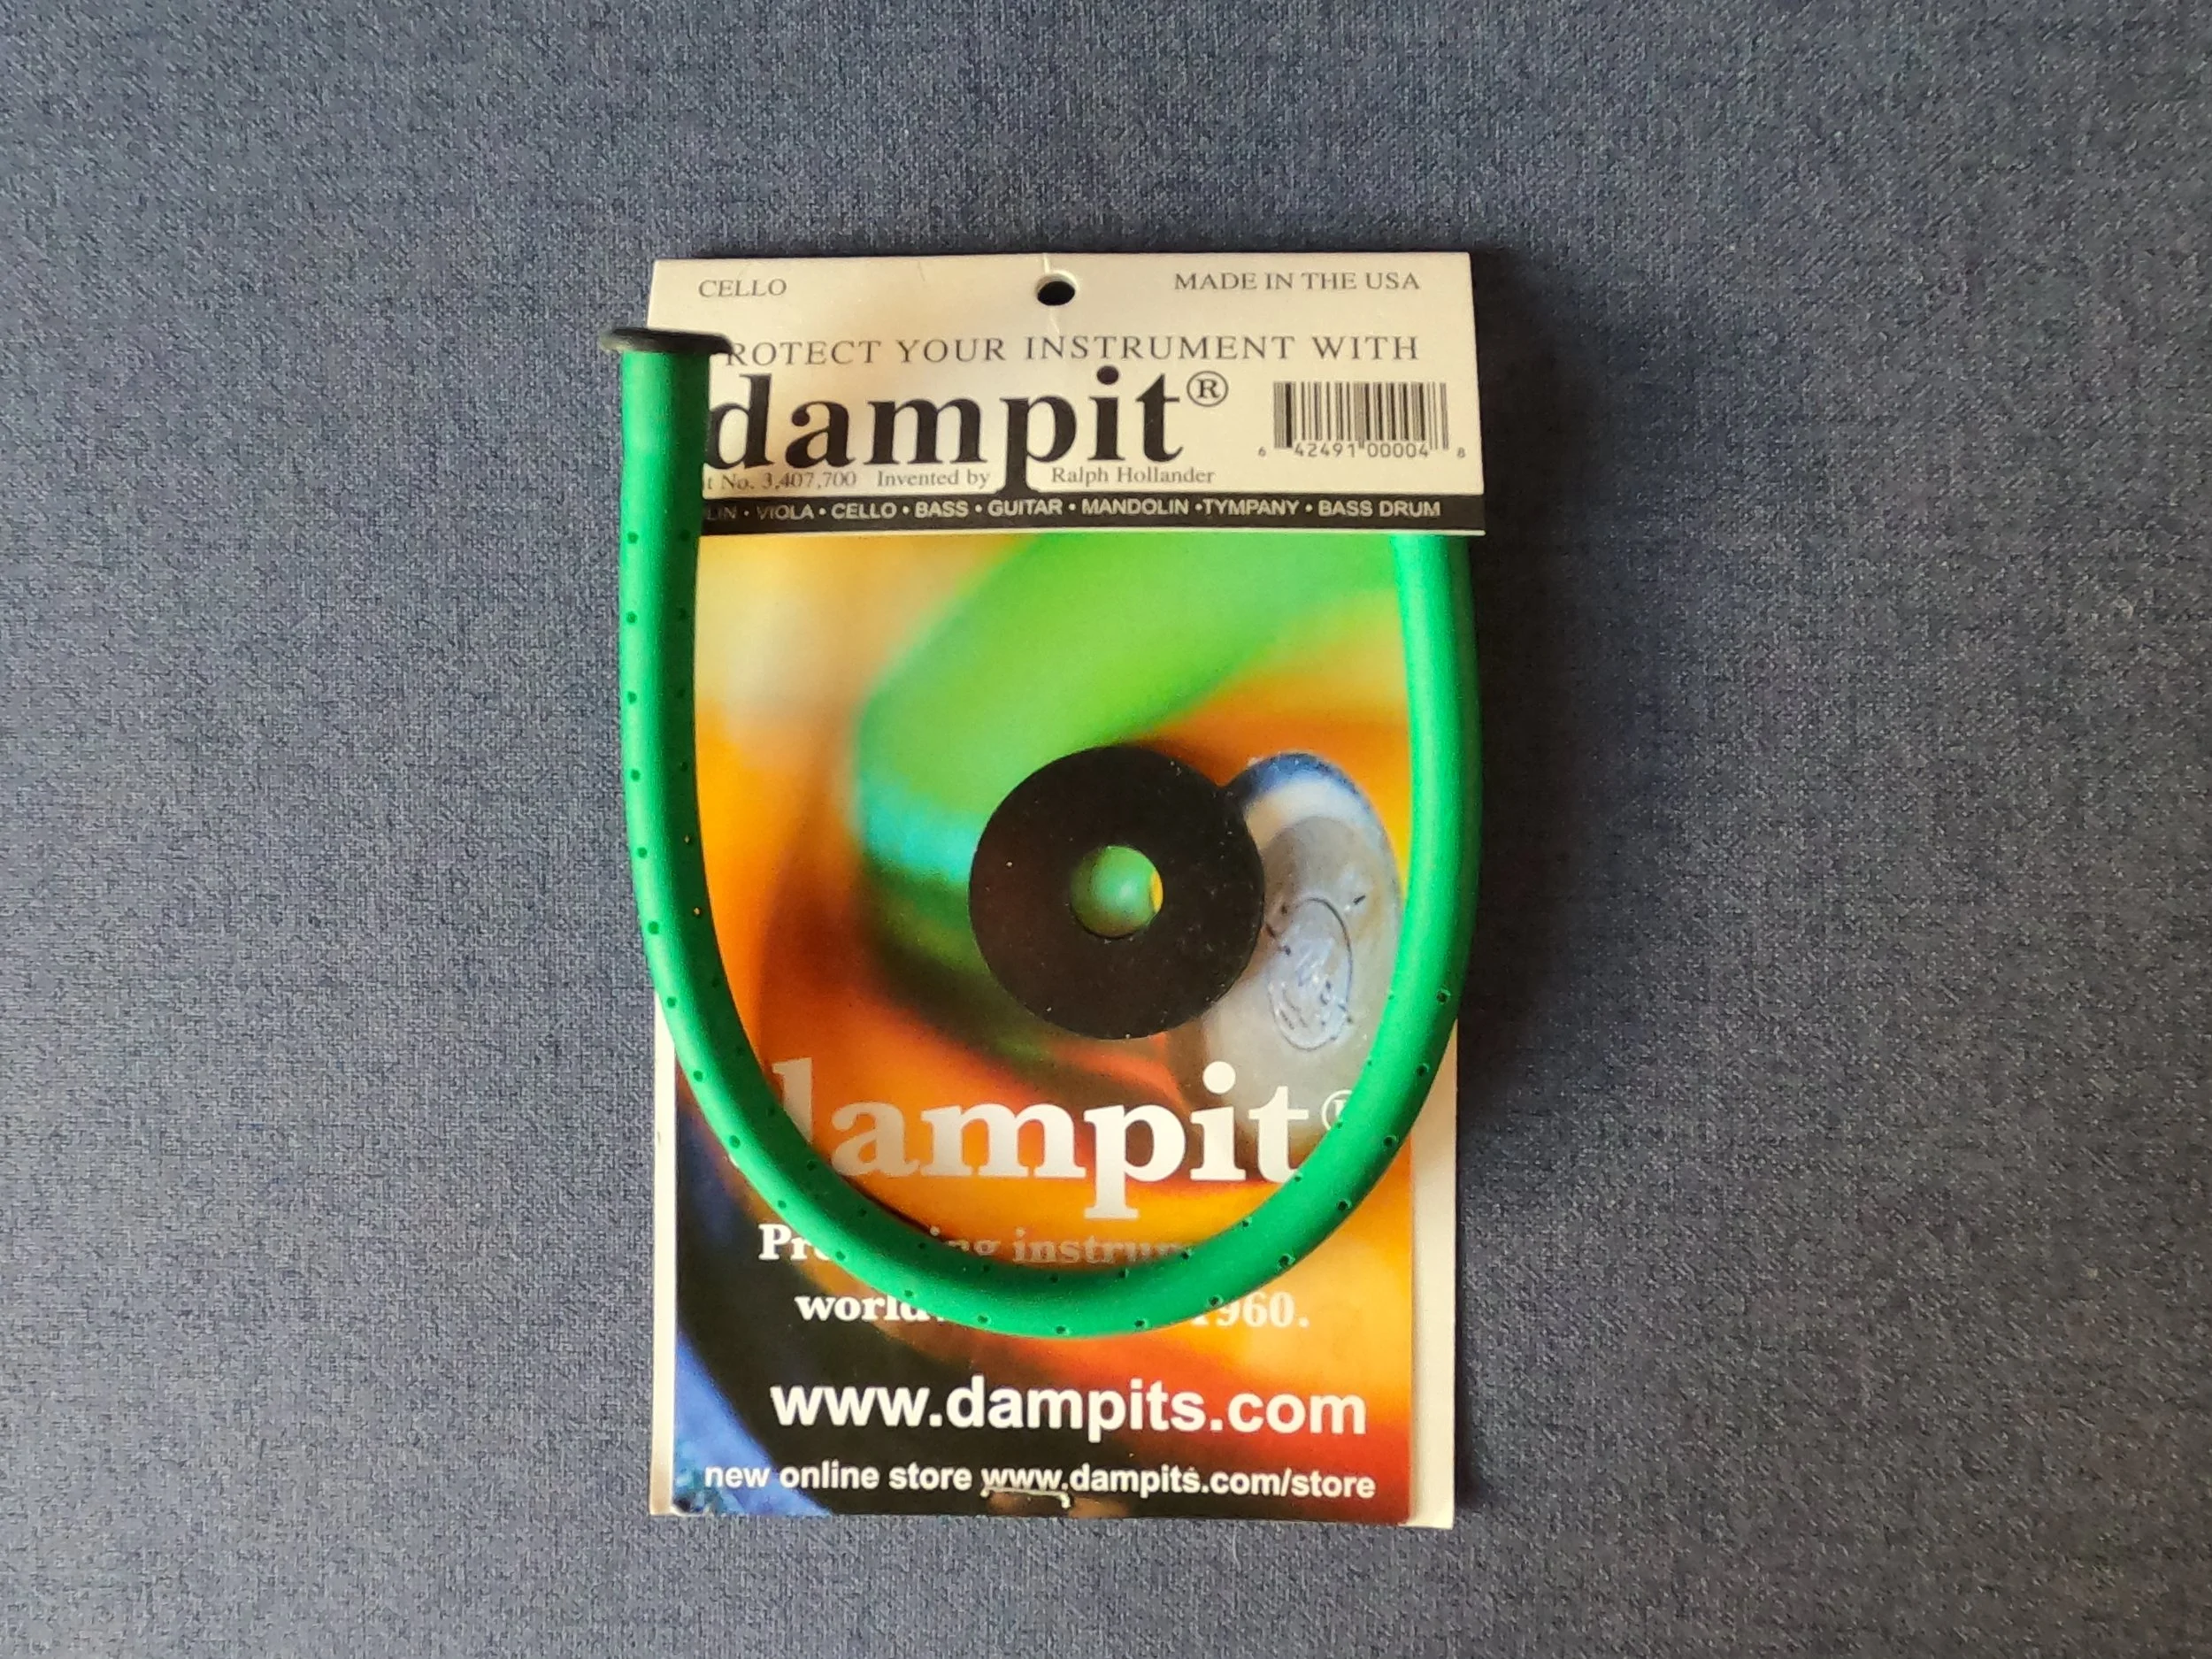
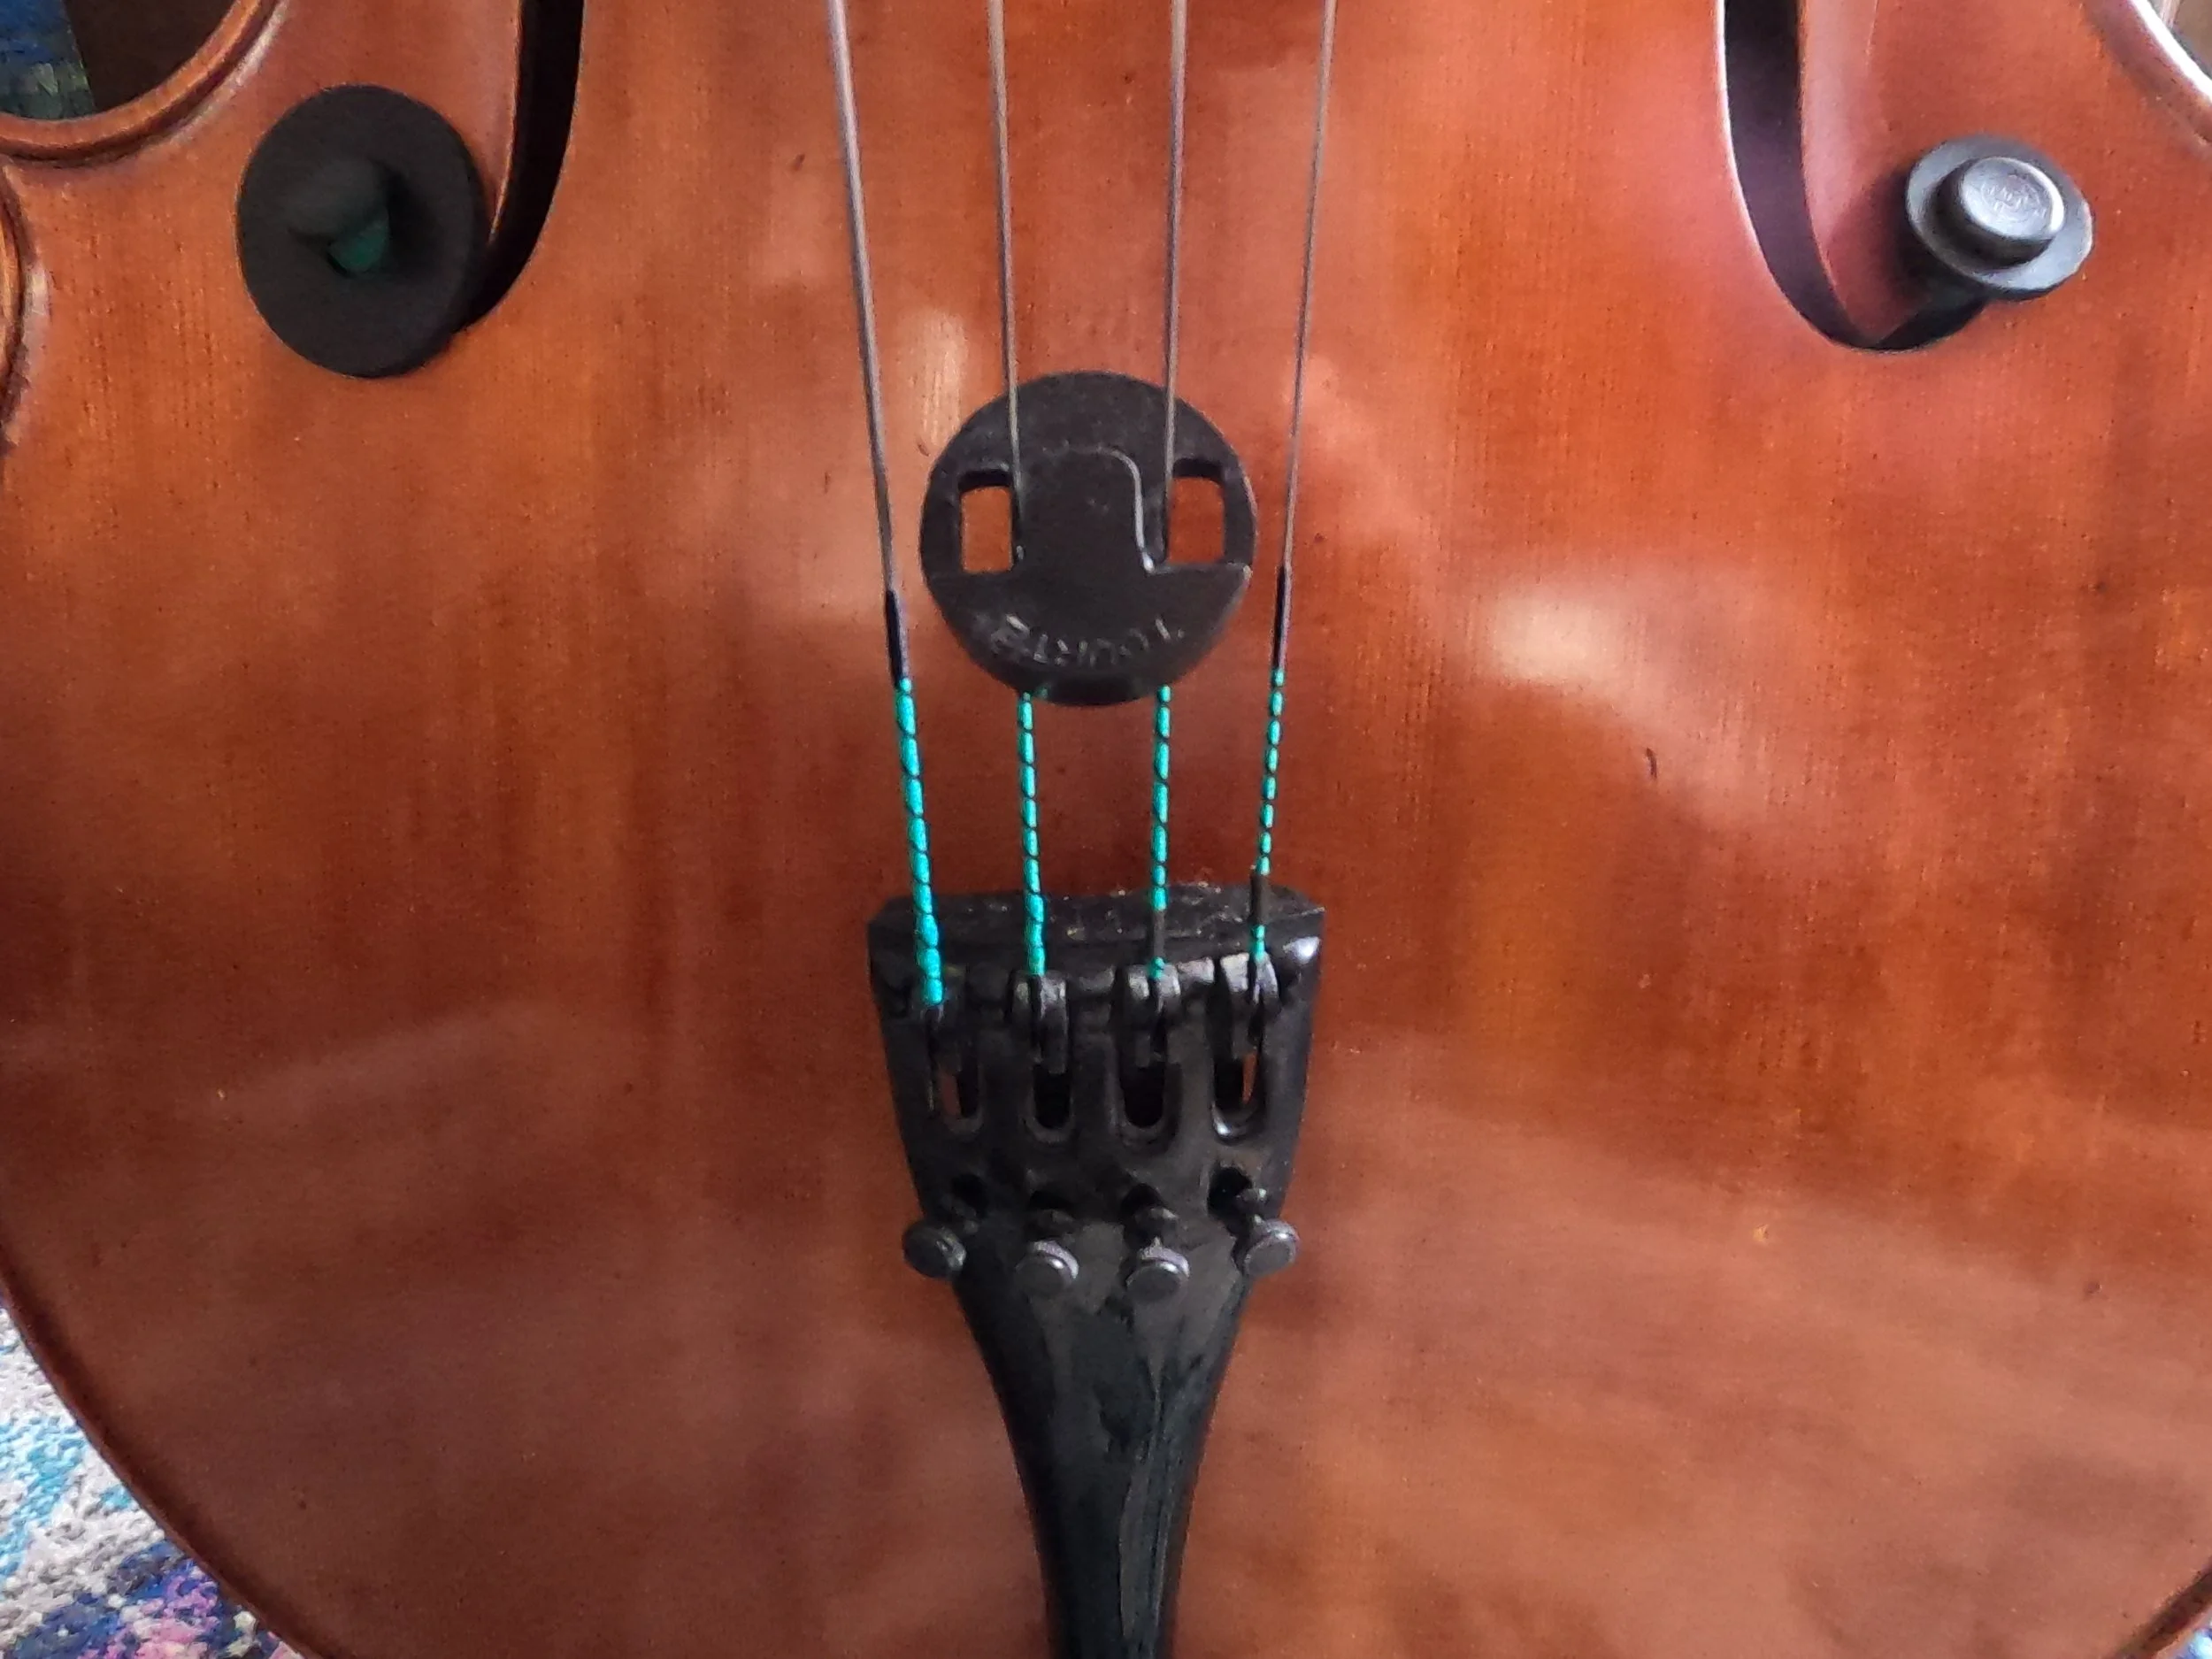
A ‘dampit’ is a a rubber tube with a sponge inside, which hangs inside the cello during winter time.
I’ve been using one in each f-hole but only using one is also fine.
Here is a photo demonstration on how I use it:
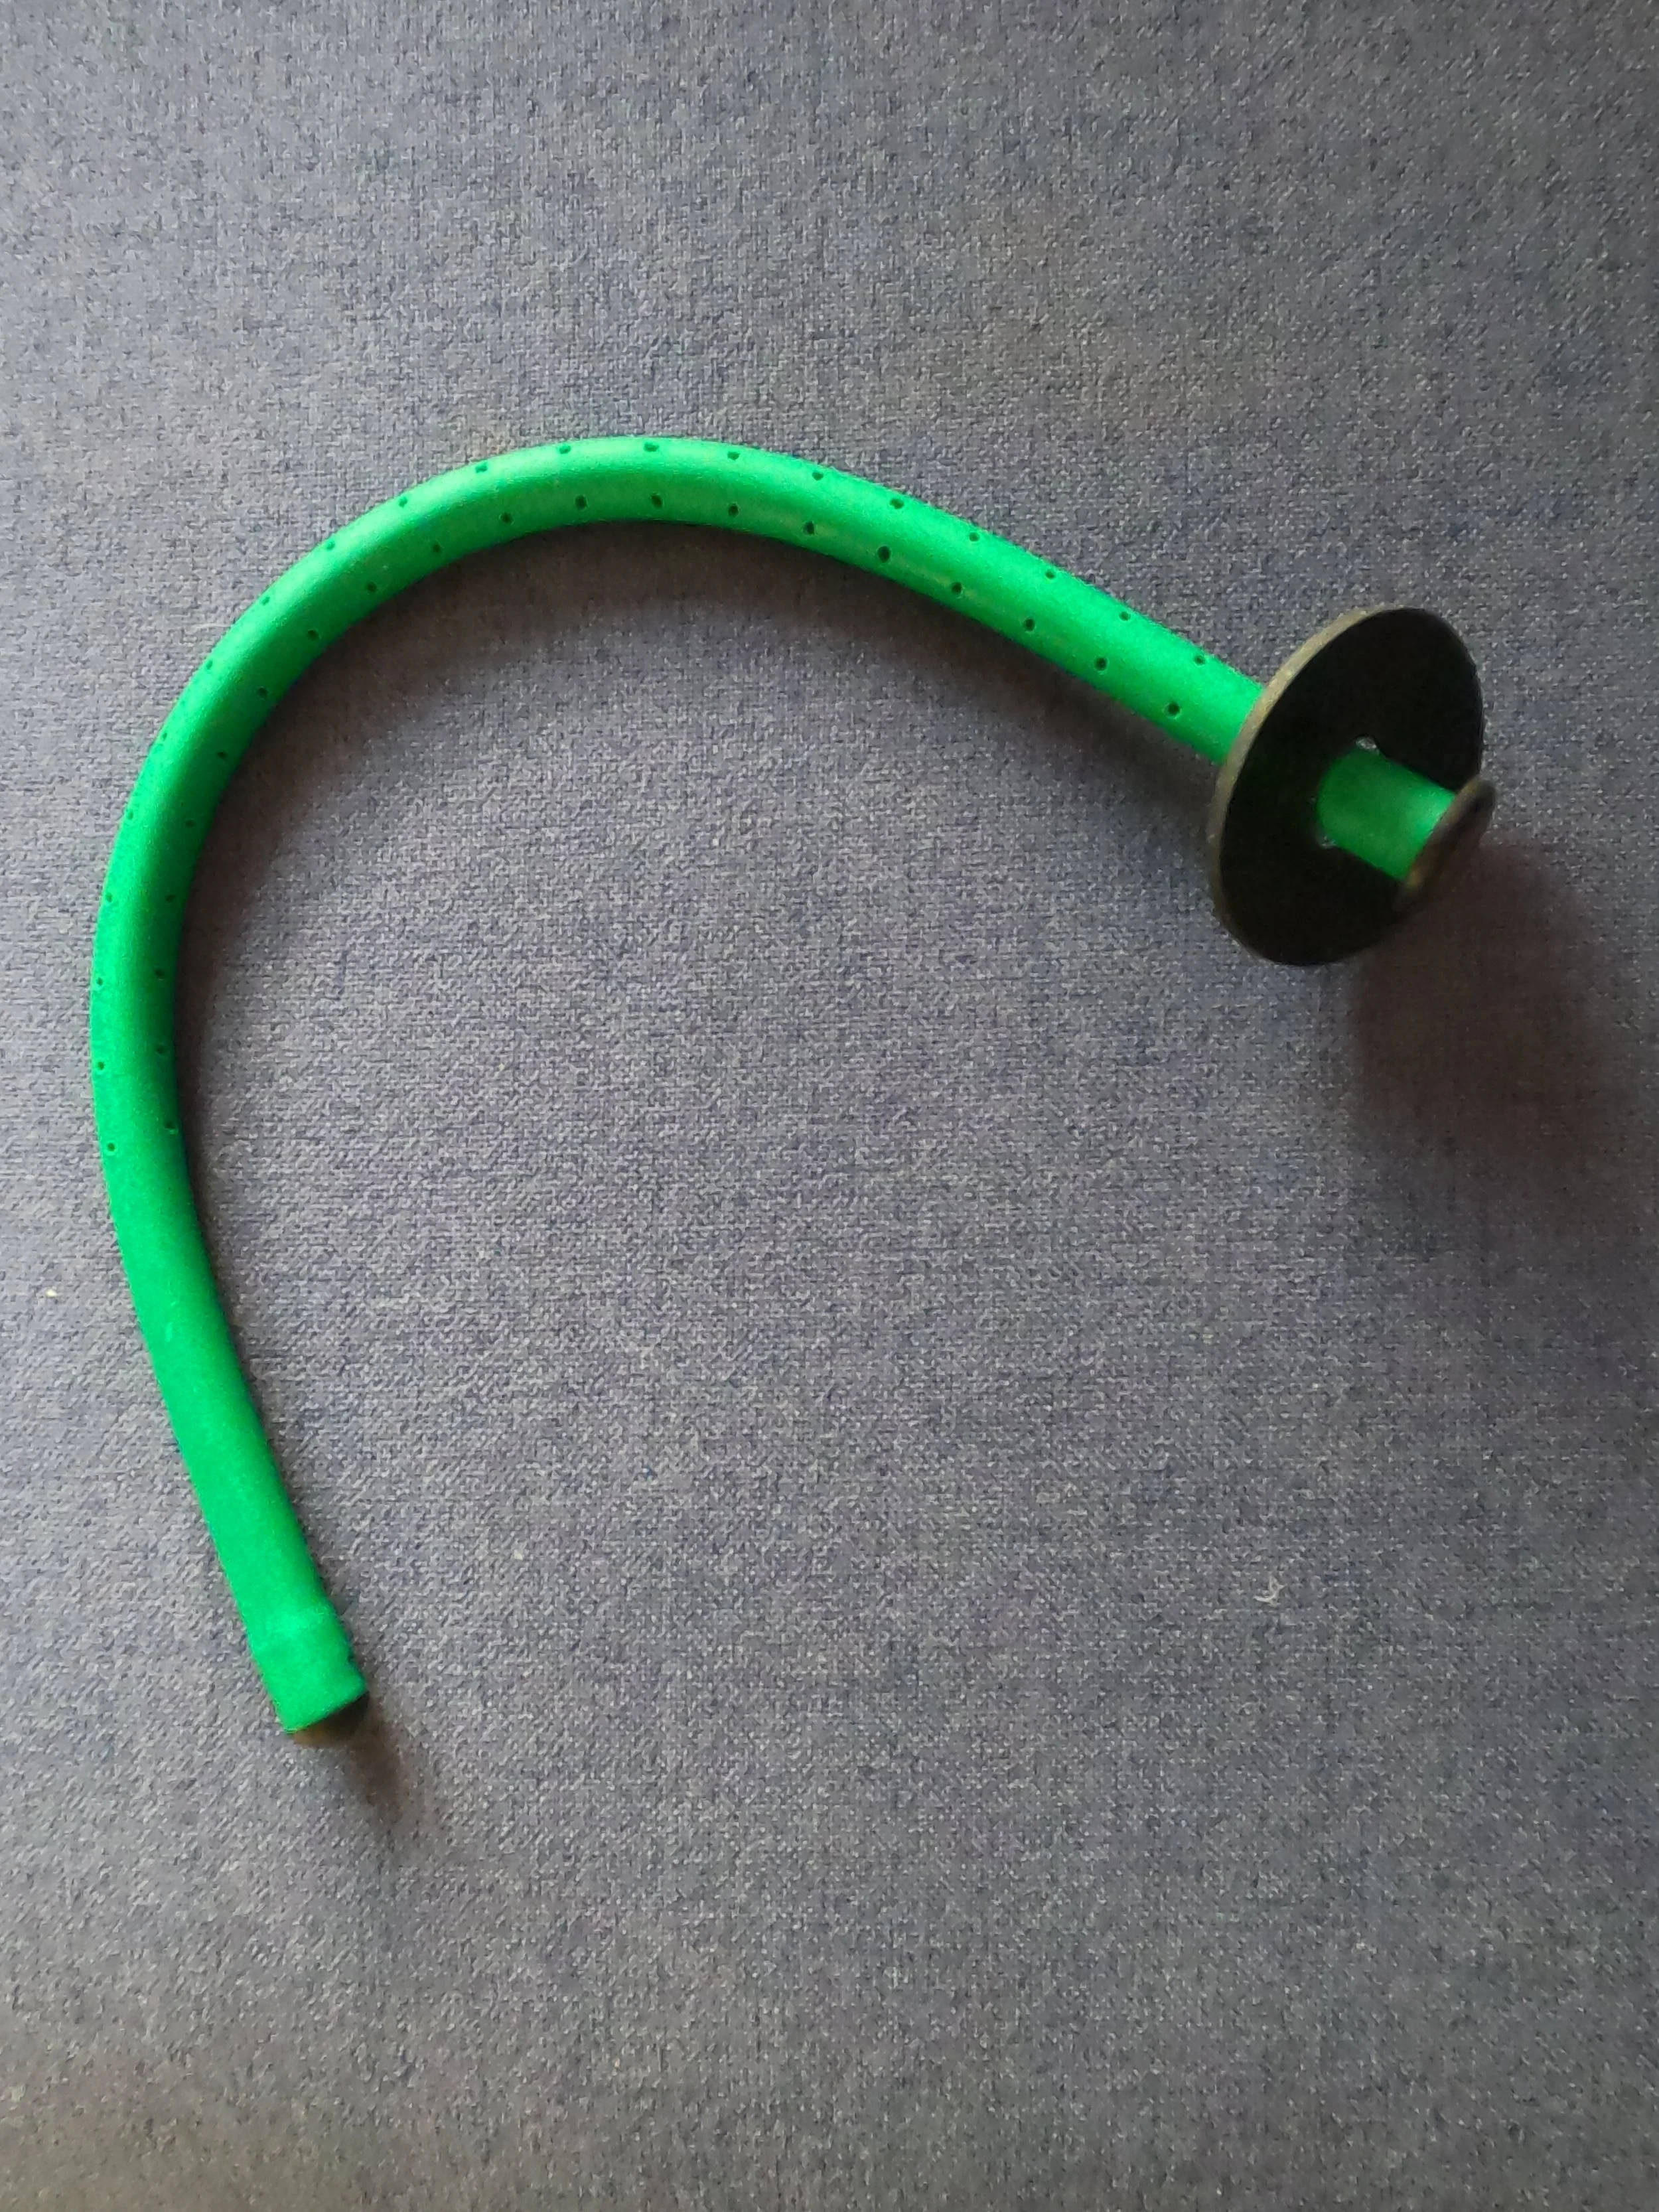
First, unpack it and place the black rubber disc under the flat end. The disc is there to prevent it from falling inside the cello.
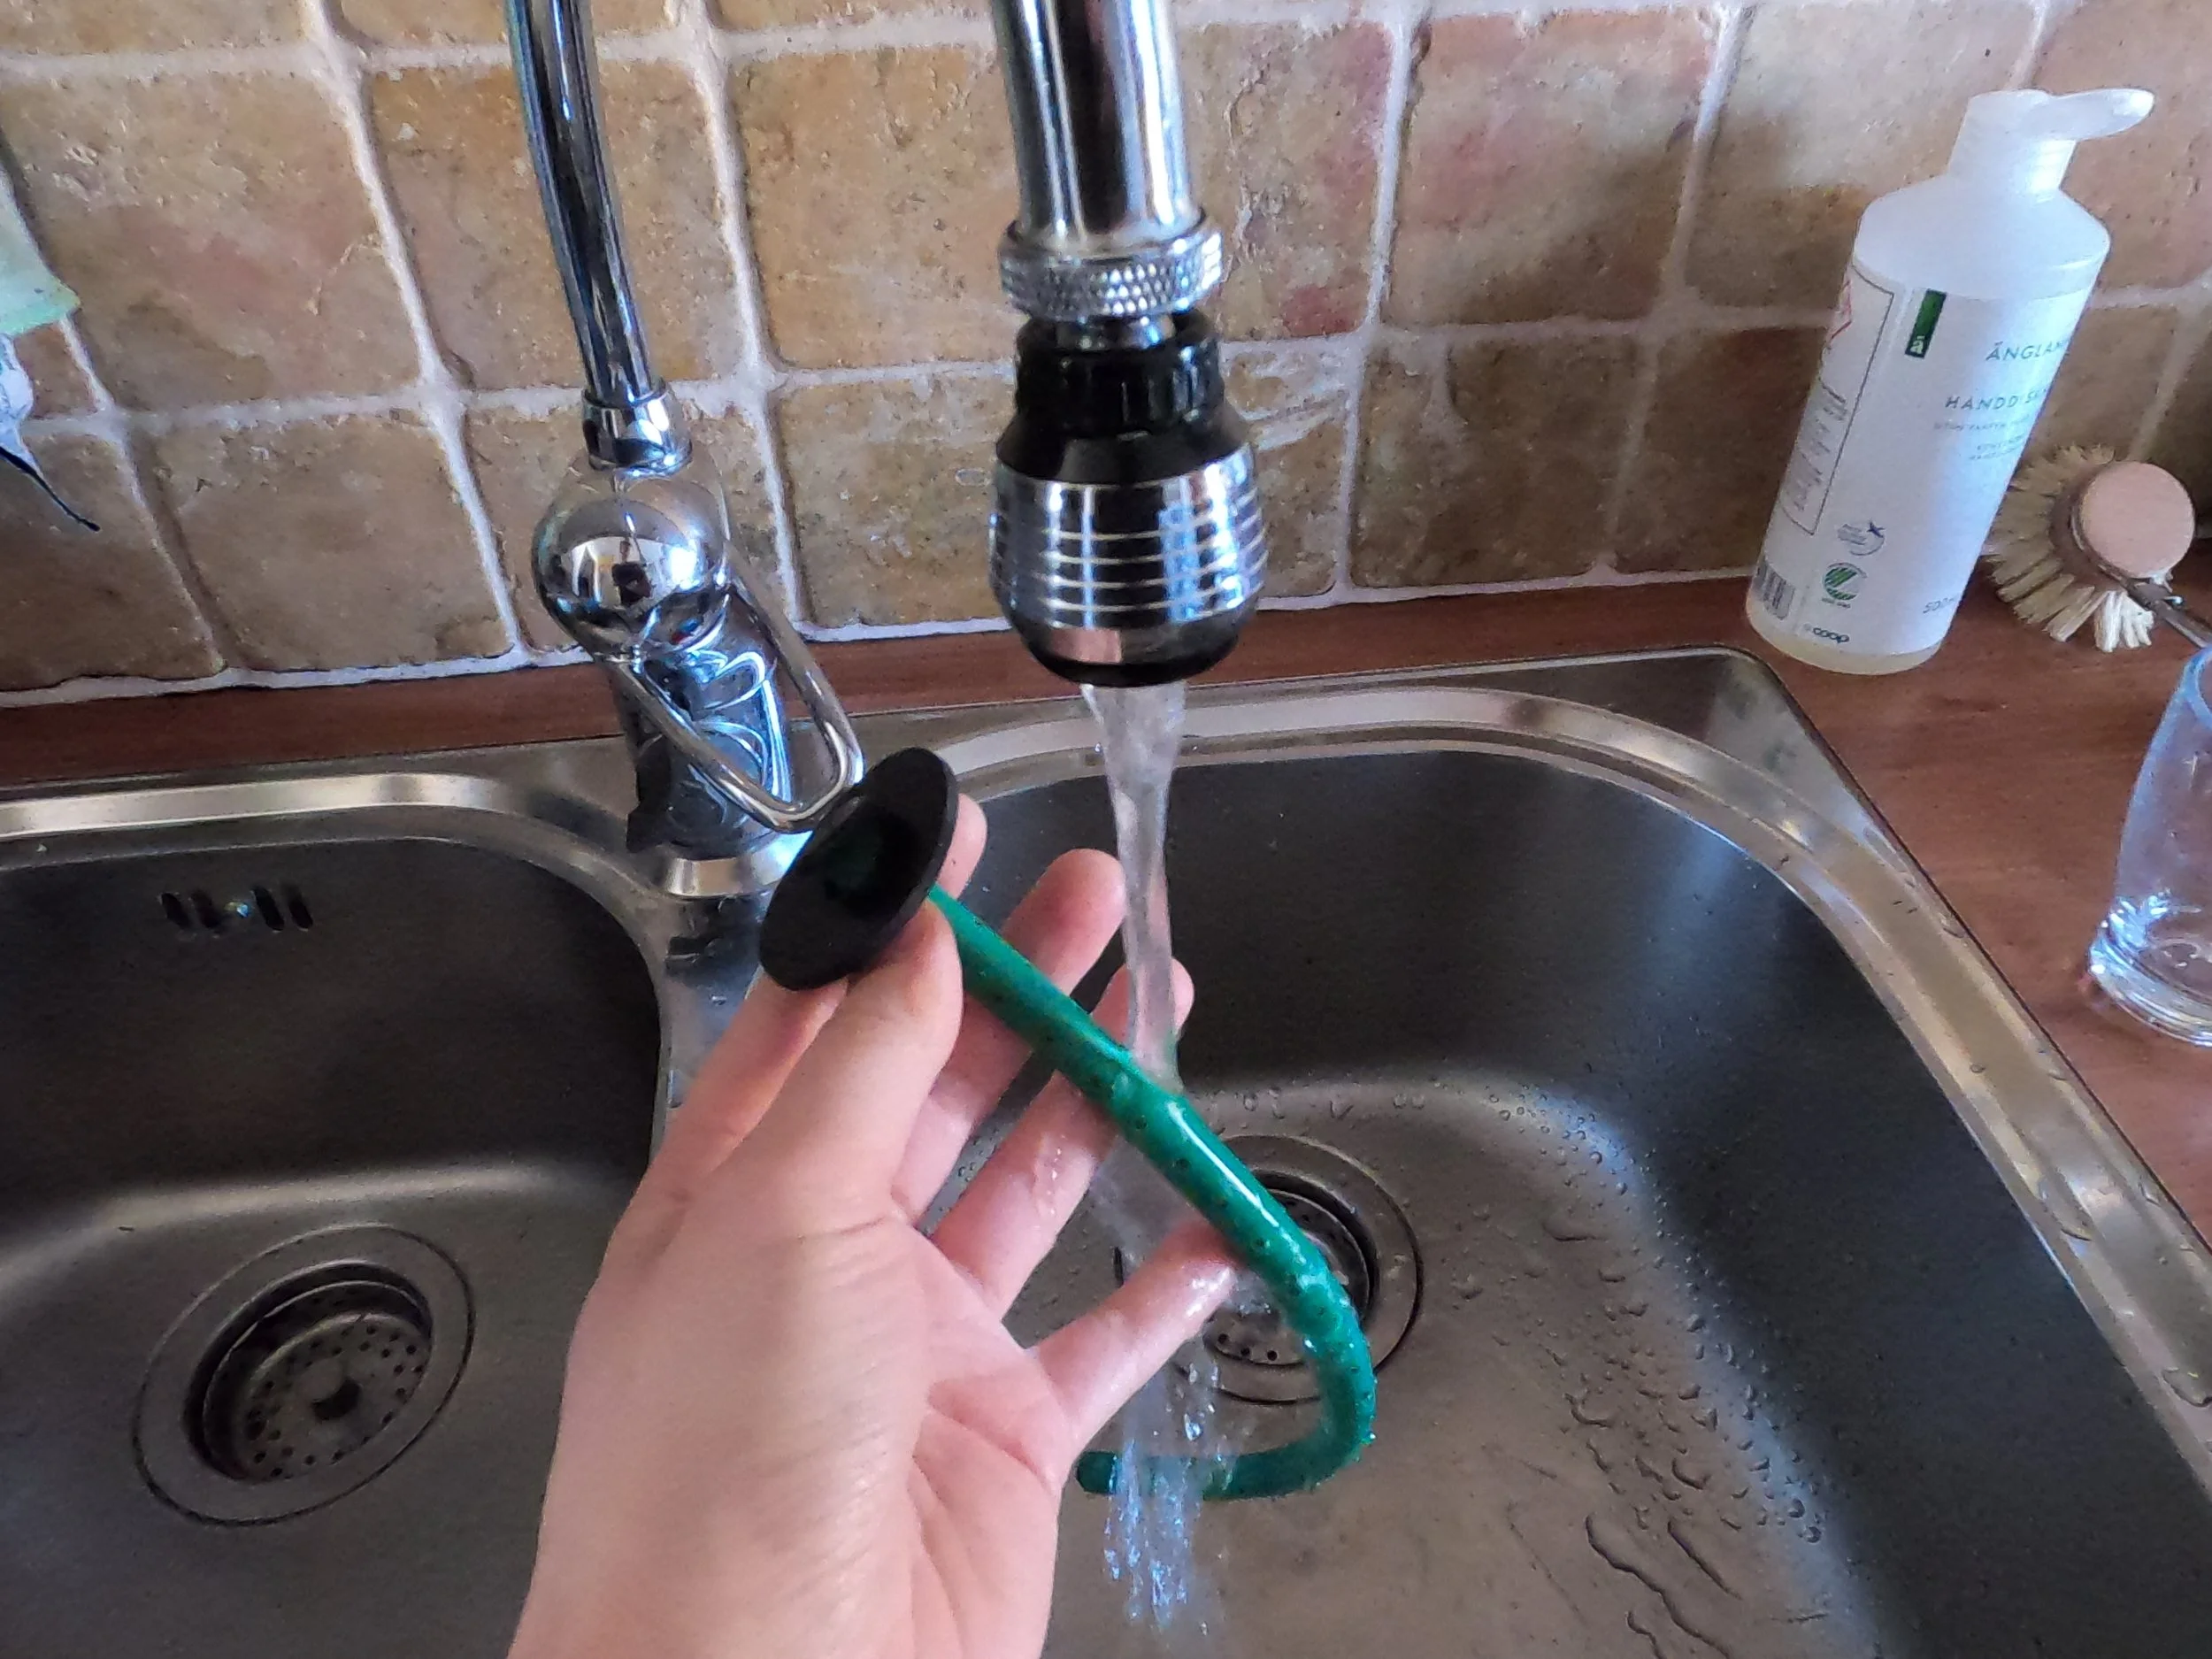
Soak the sponge with water.
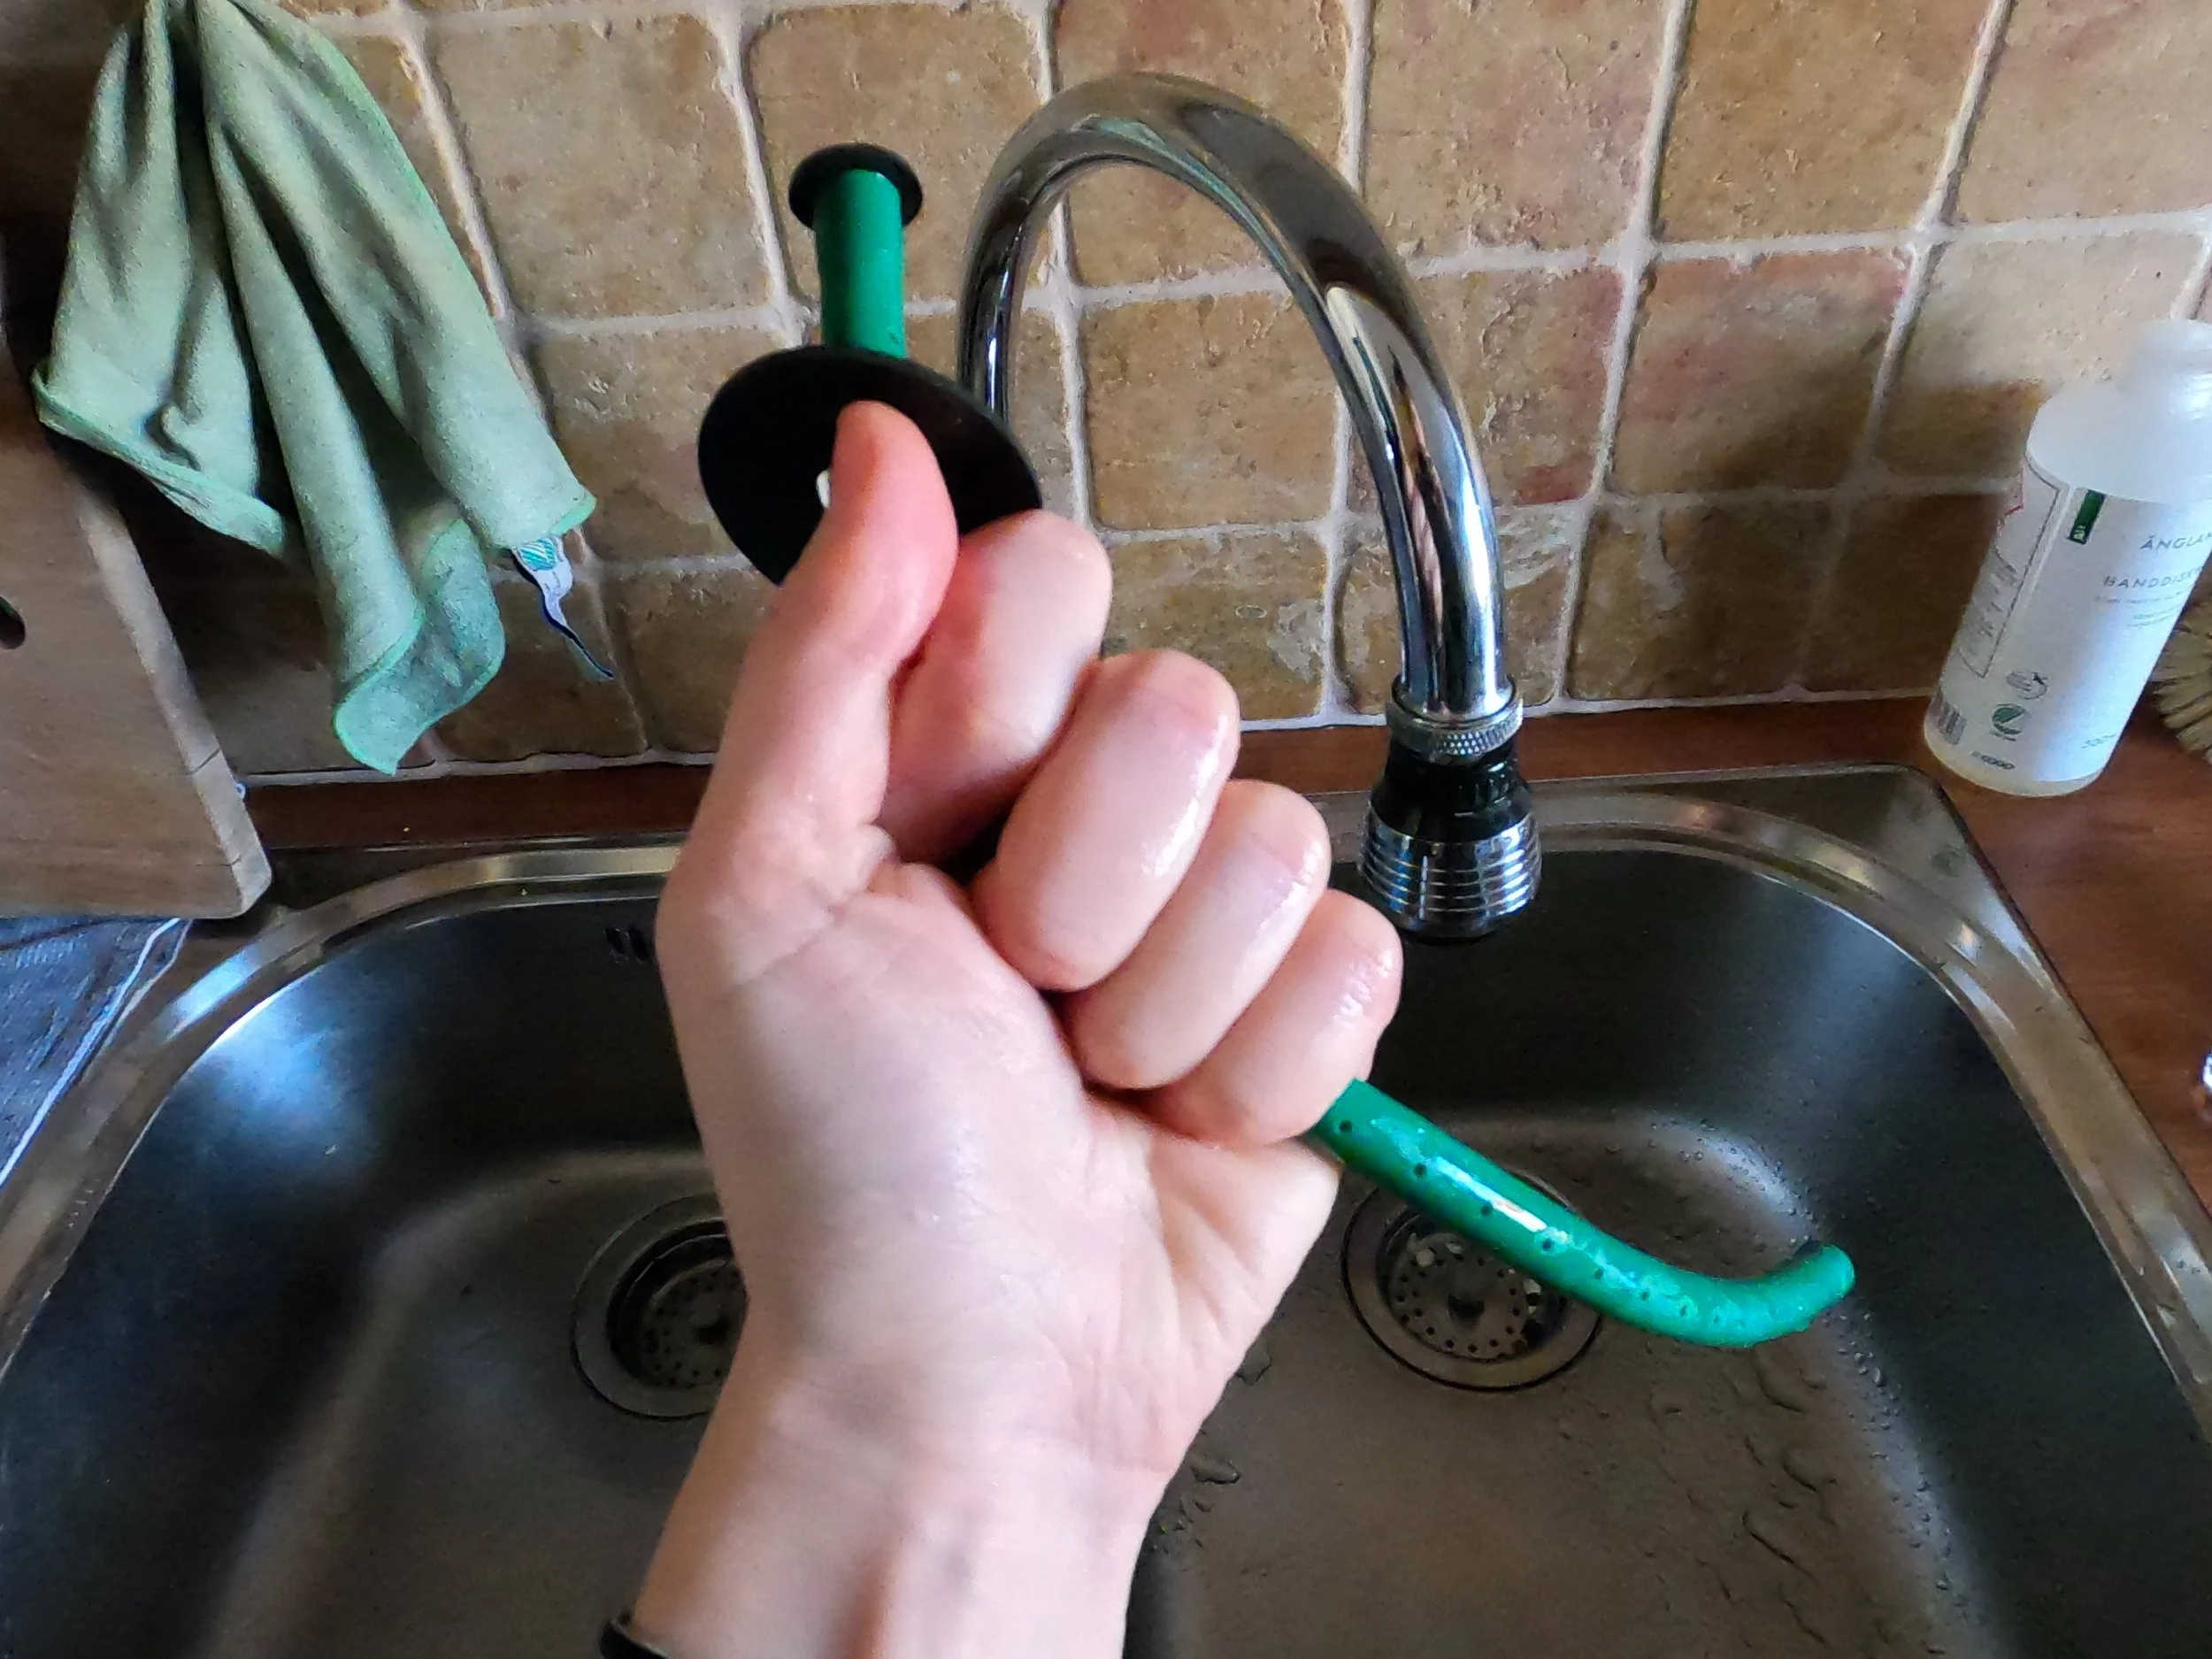
Squeeze out excess water.
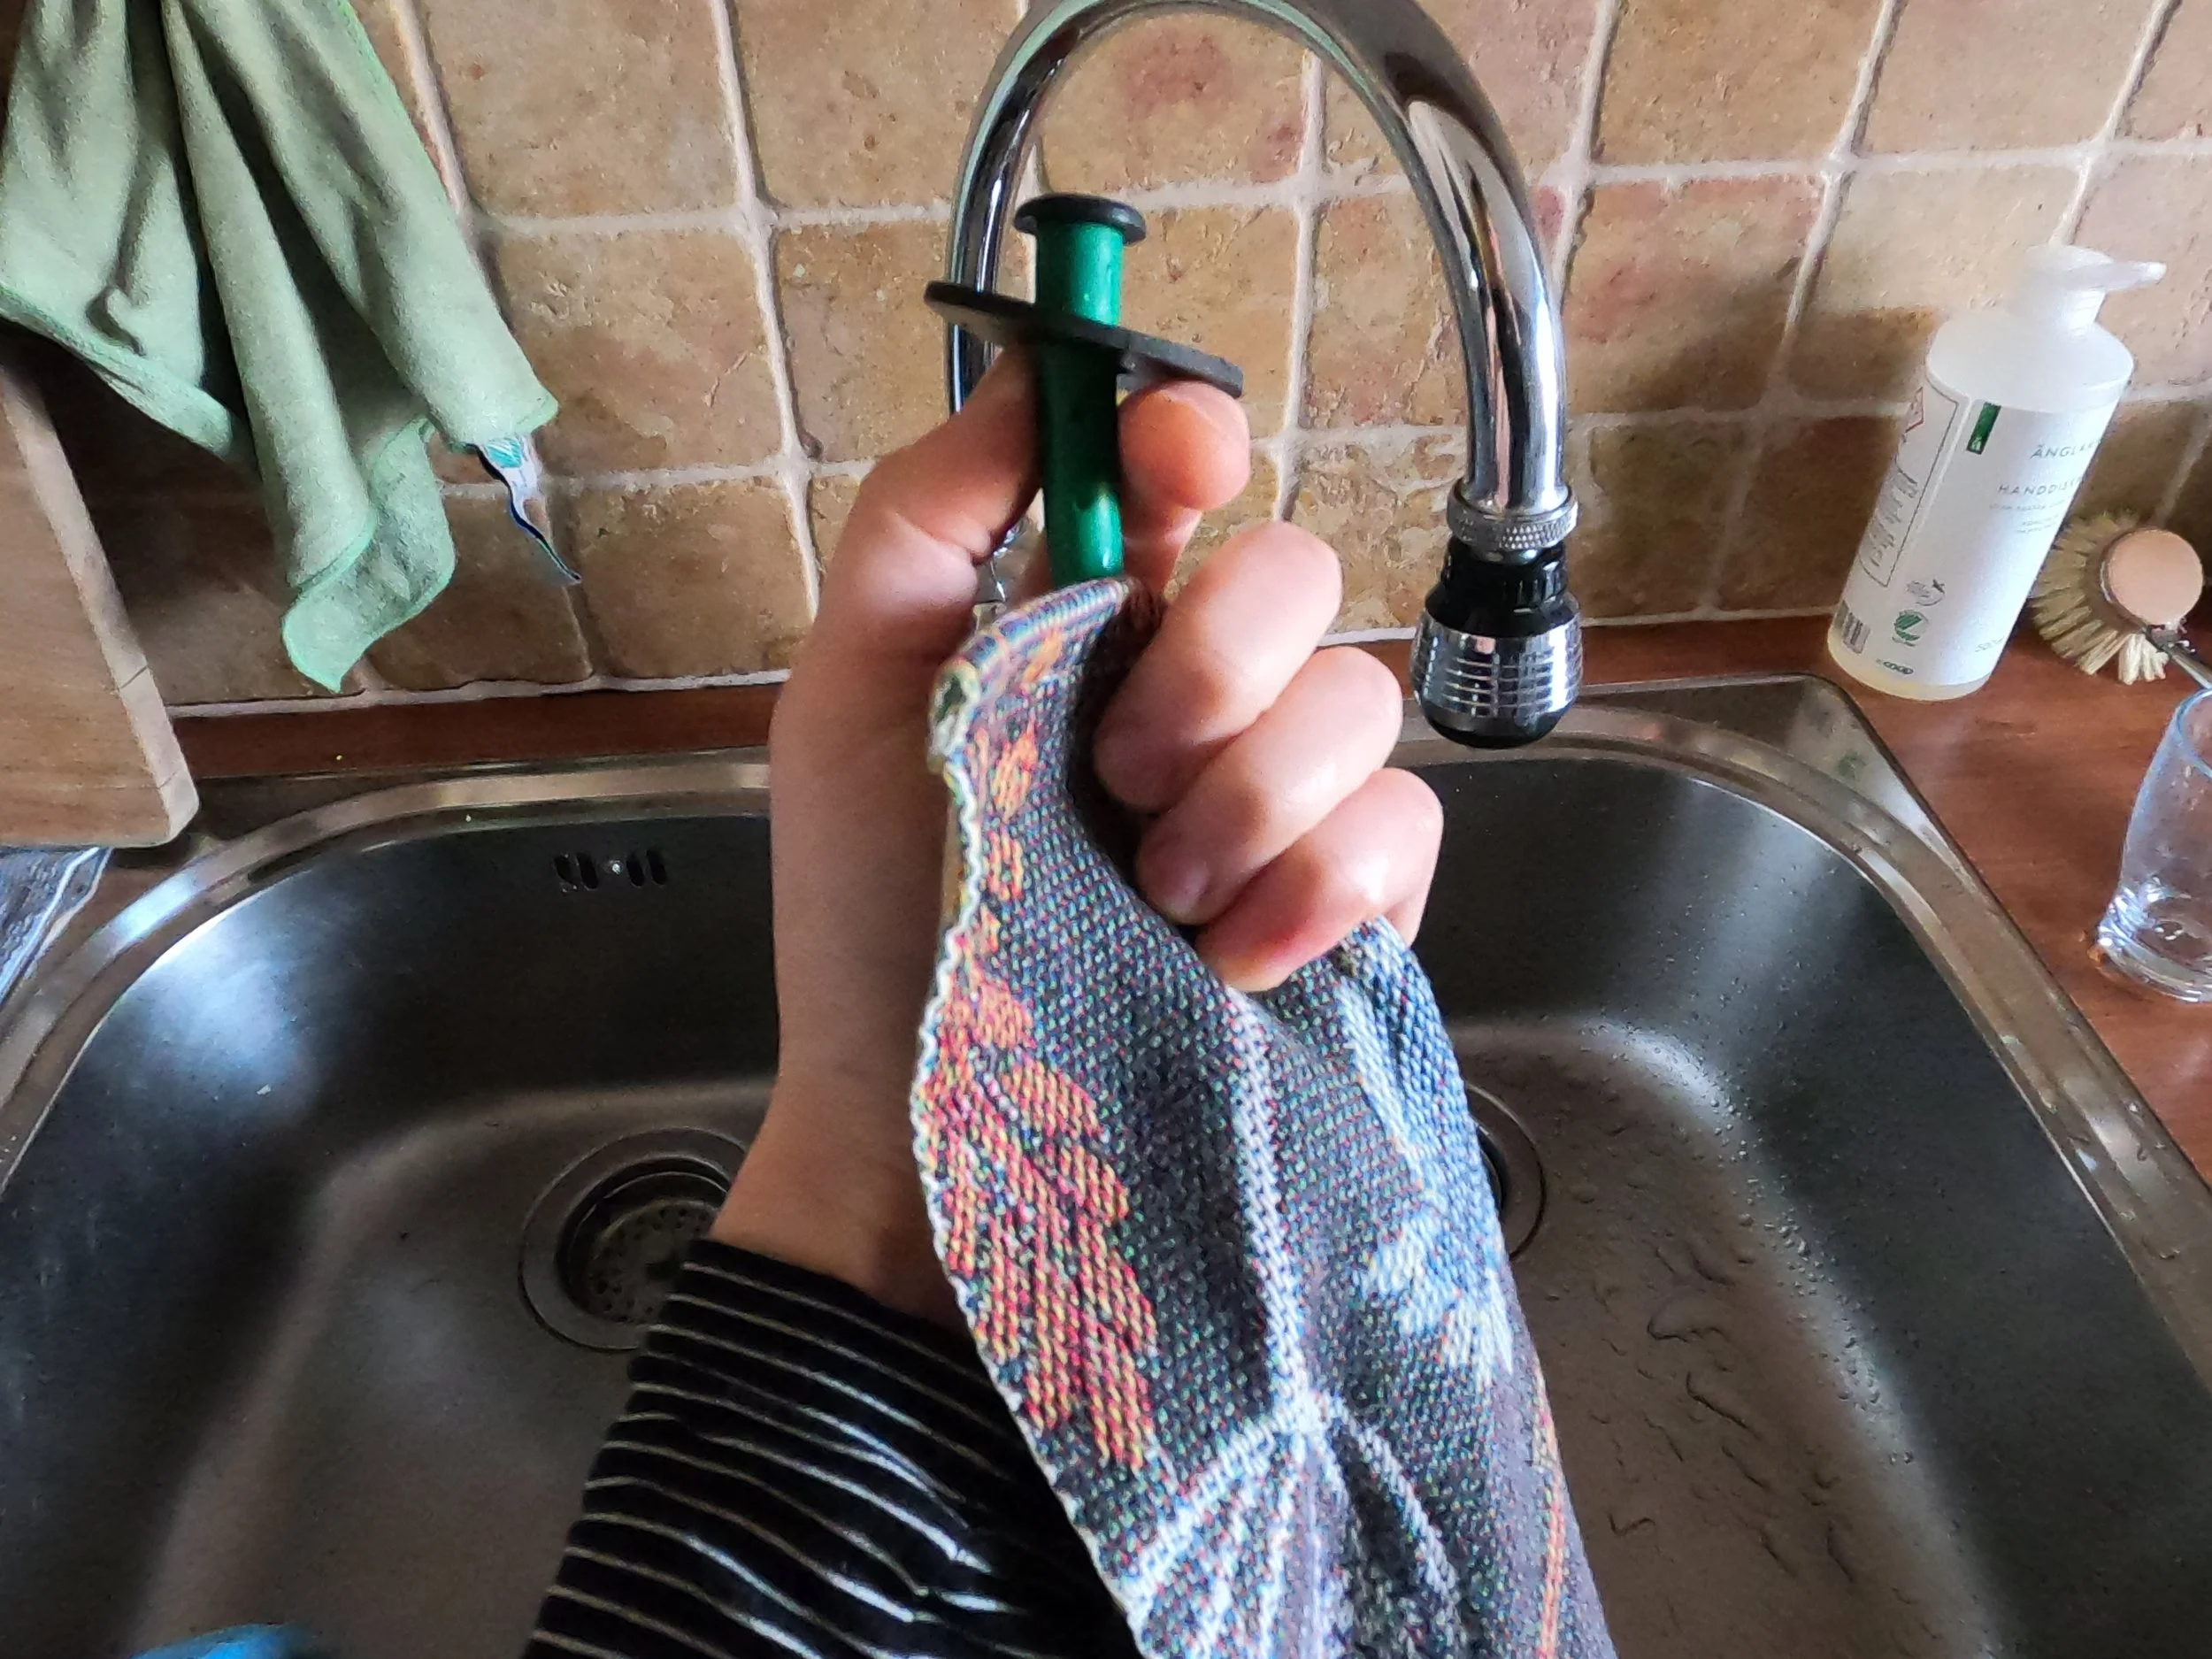
Dry the tube very well. No water should drip inside the cello!
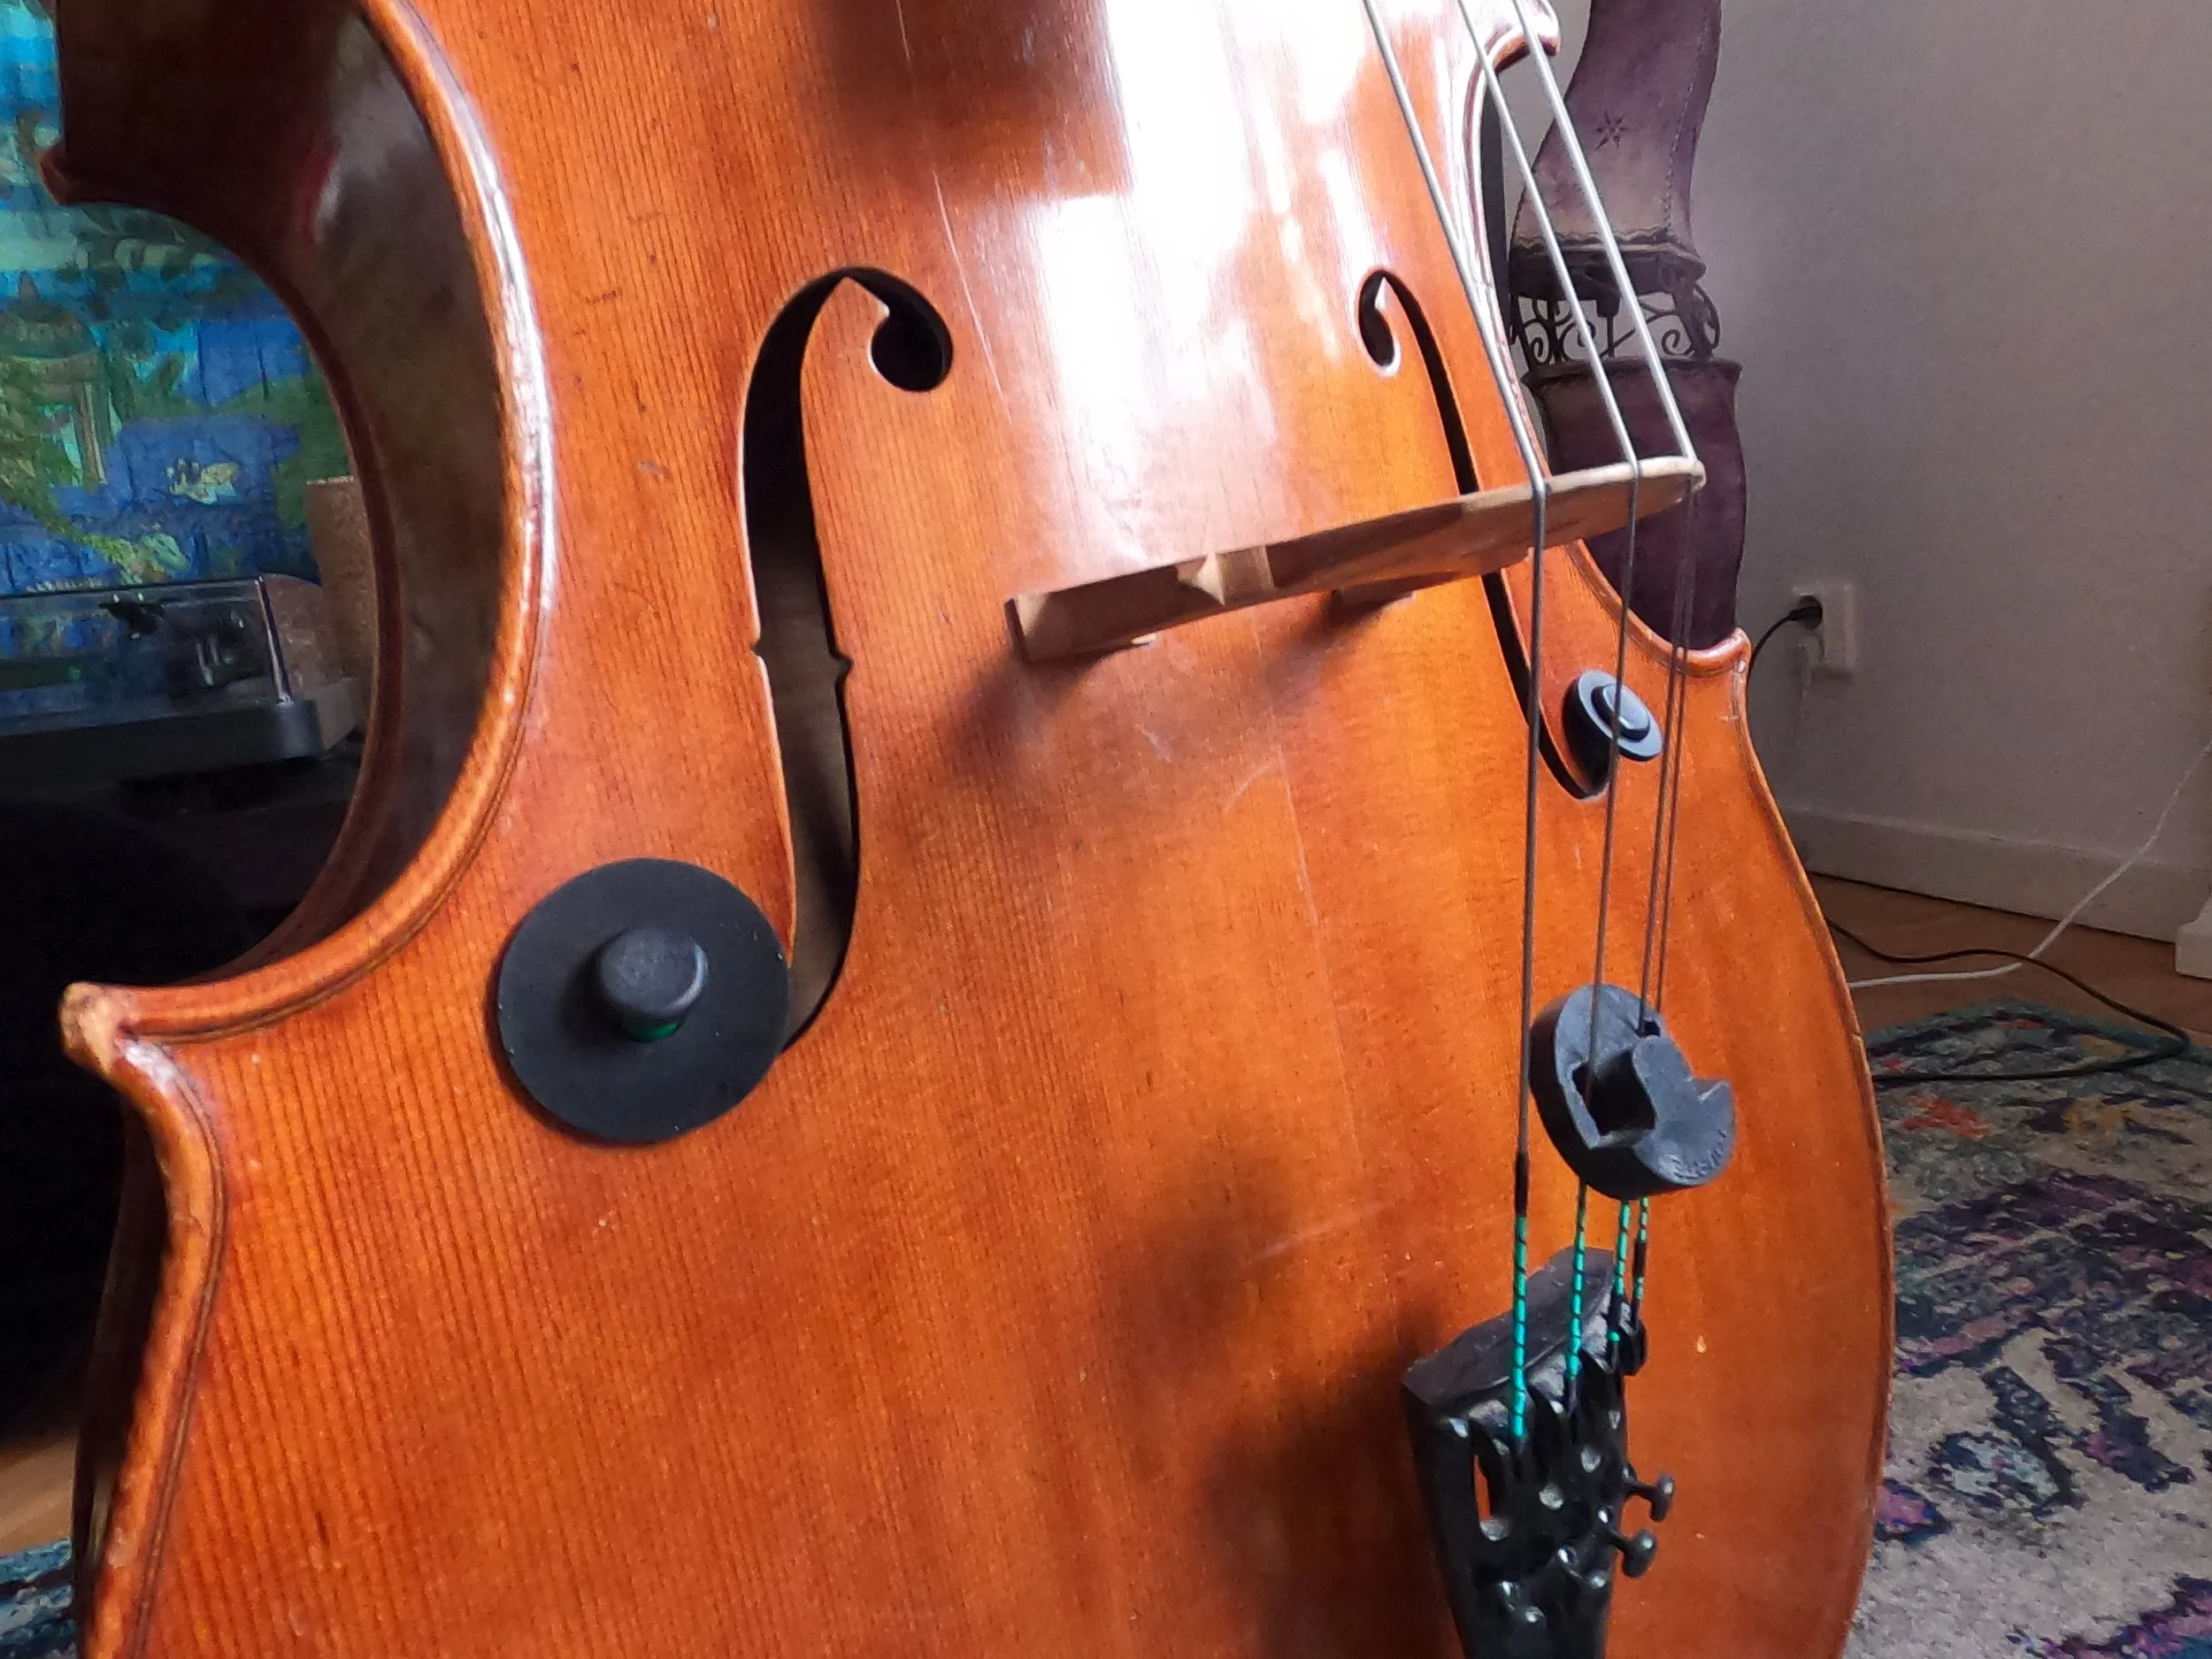
Place the tube inside your cello through the lower end of the f-hole. Mine are now different from each other because of the larger disc that came with the newest purchase. I take them out of the cello during performance, mainly for the aesthetics but also because my gut feeling says that I don’t want rubber tubes in my instrument during performance.
You want to re-submerge them in water on a near-to-daily basis. Just give them a gentle squeeze and check if they are soft or firm. If they are firm, there is no water in the sponge.
Next - mutes! I’ve only mentioned them in my videos, so here are some photos to demonstrate.
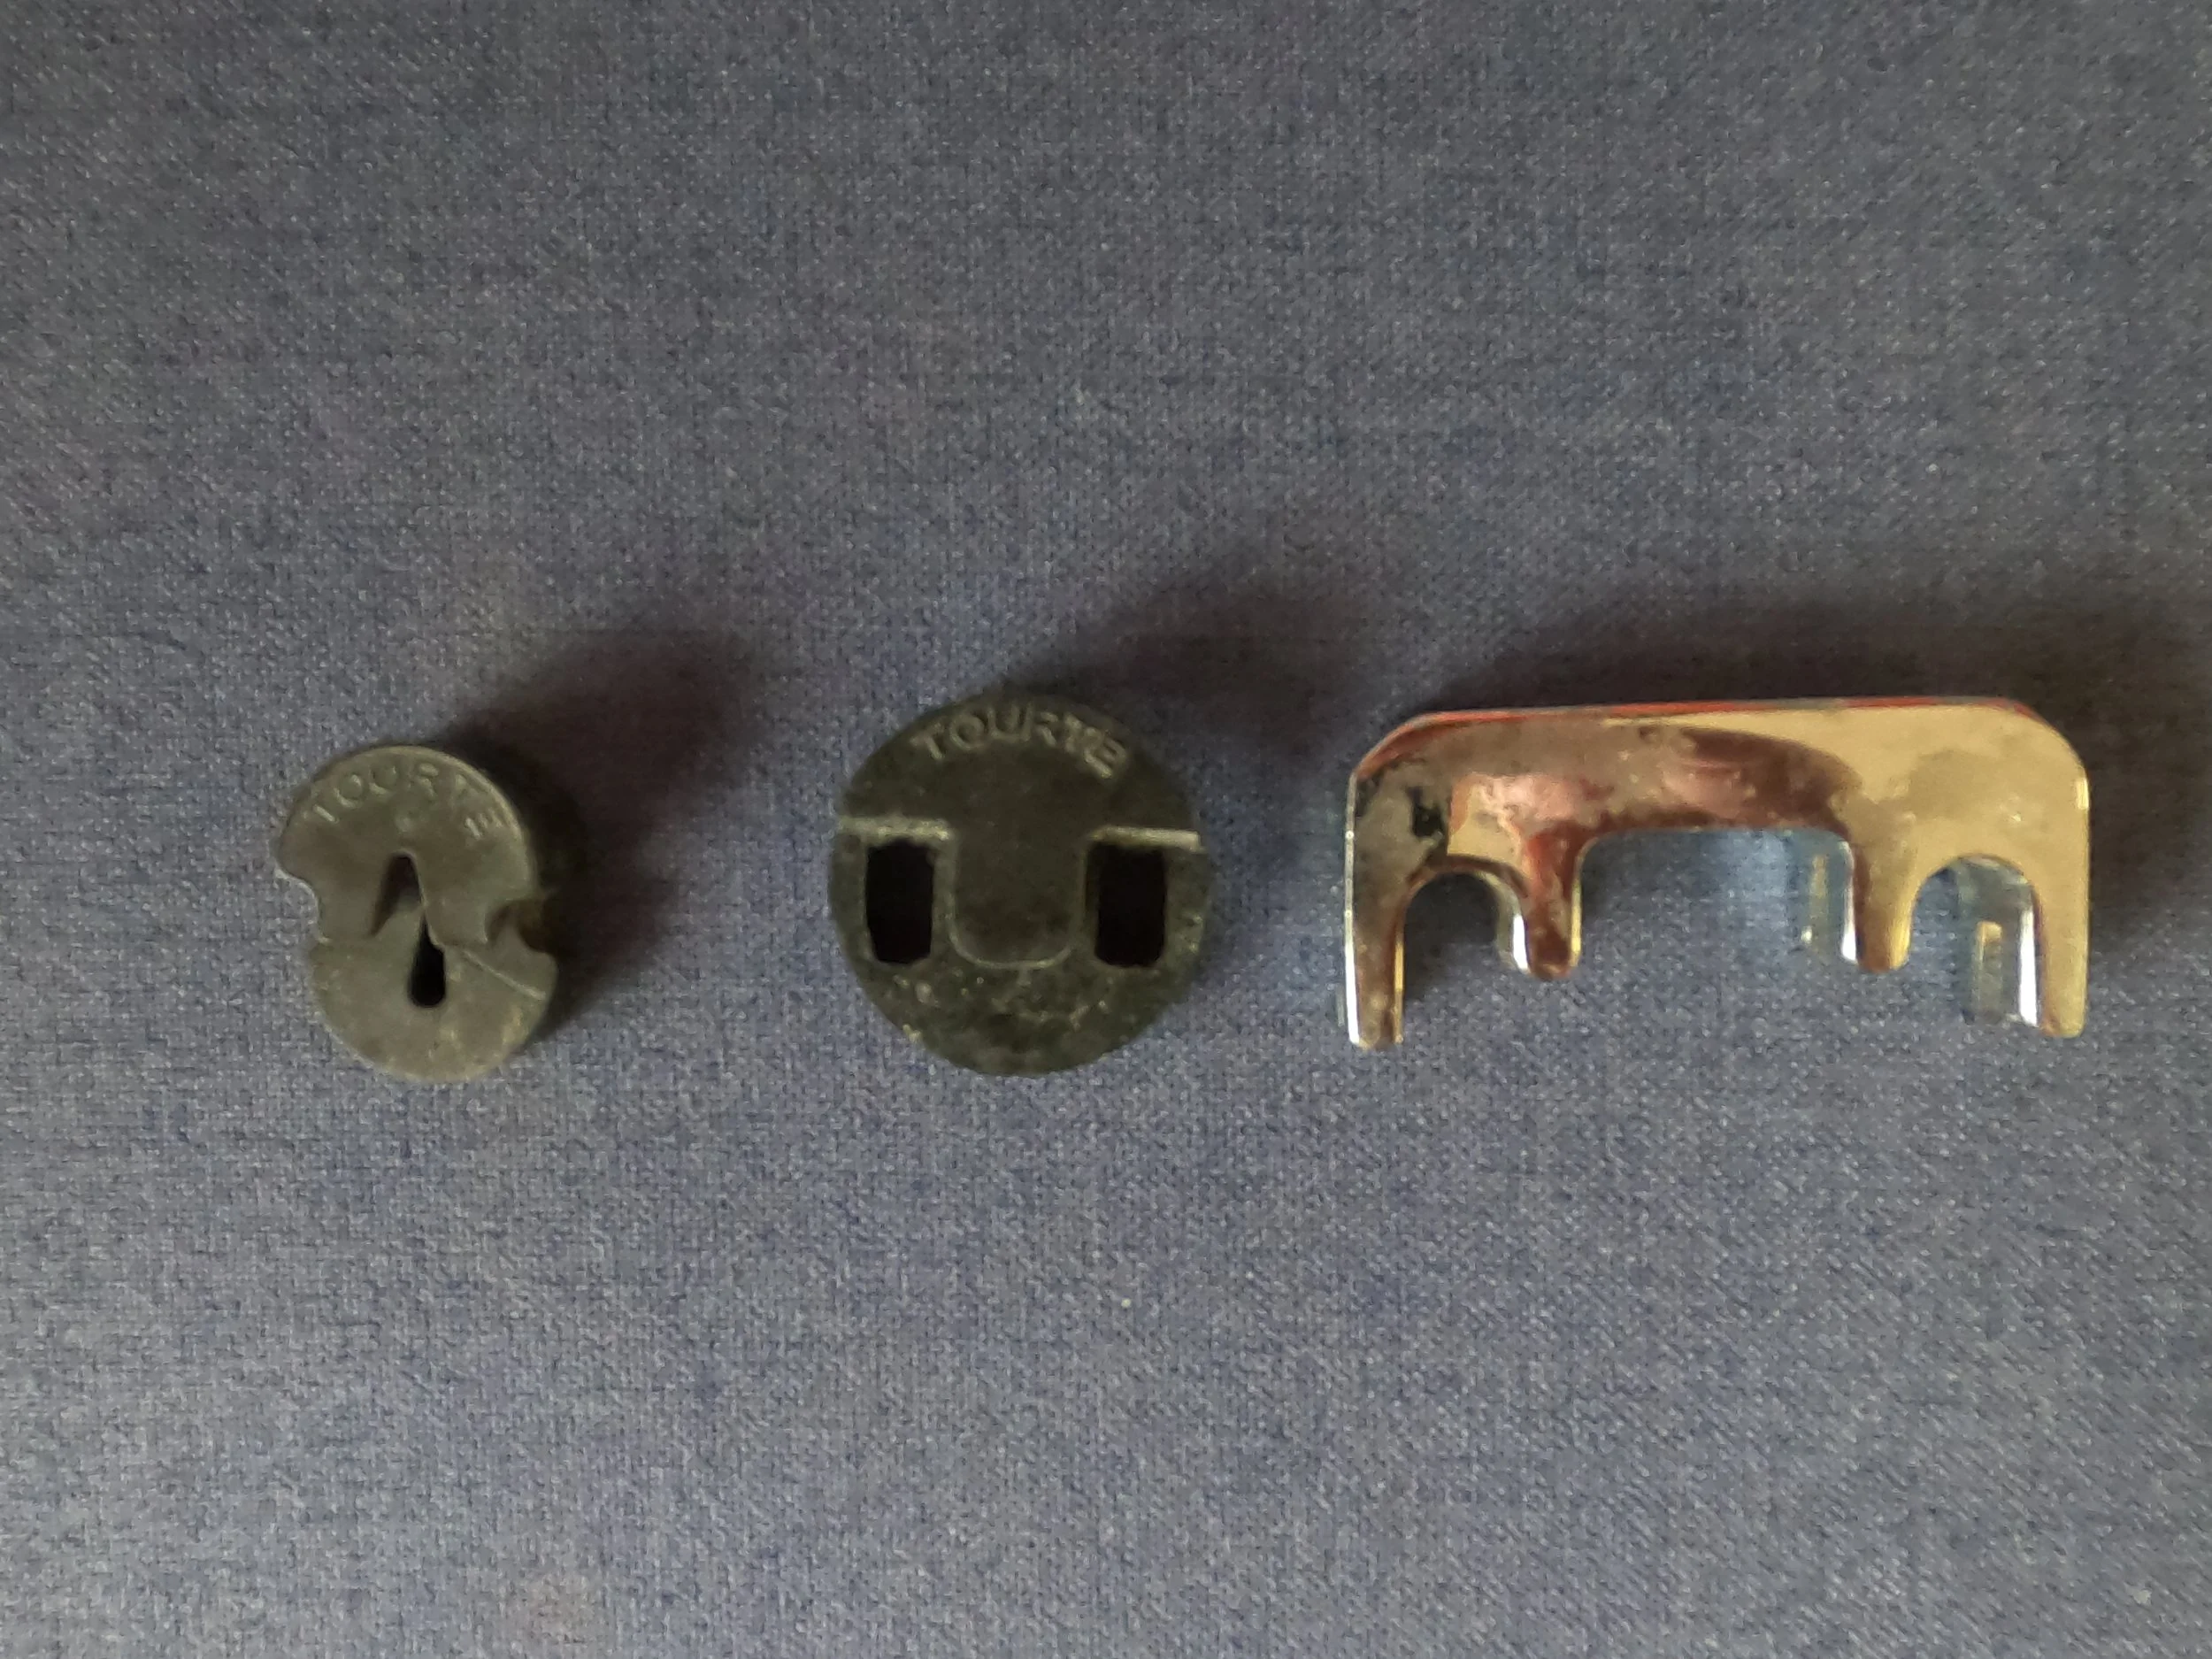
Here are the 3 mutes that I have. To be honest, I never used the smallest one to the left, I just bought it in case it could become useful. Because it’s so small, it doesn’t make a big difference to the way the cello sounds. The one I use when the sheet music calls for ‘con sordino’ is the one in the middle. The large metal mute on the right has been in use when the sheet music calls for a metal mute specifically (only in contemporary music), or when I don’t want my neighbors to take the full load of my practice when I have to practice at home. It’s commonly covered in black rubber, which I think I would recommend since it will pose less of a damage to your cello when it falls off!
The smallest mute can be placed on one of the strings so that it’s ready for when it’s called for. There’s a separation in the rubber which allows you to place the mute around one of the strings below the bridge.

When you want to play with the mute, pull it along the string and place it firmly on the bridge. I’ve seen it being placed over one of the middle strings. You can experiment and see if you hear a difference according to which string it’s placed on top of.
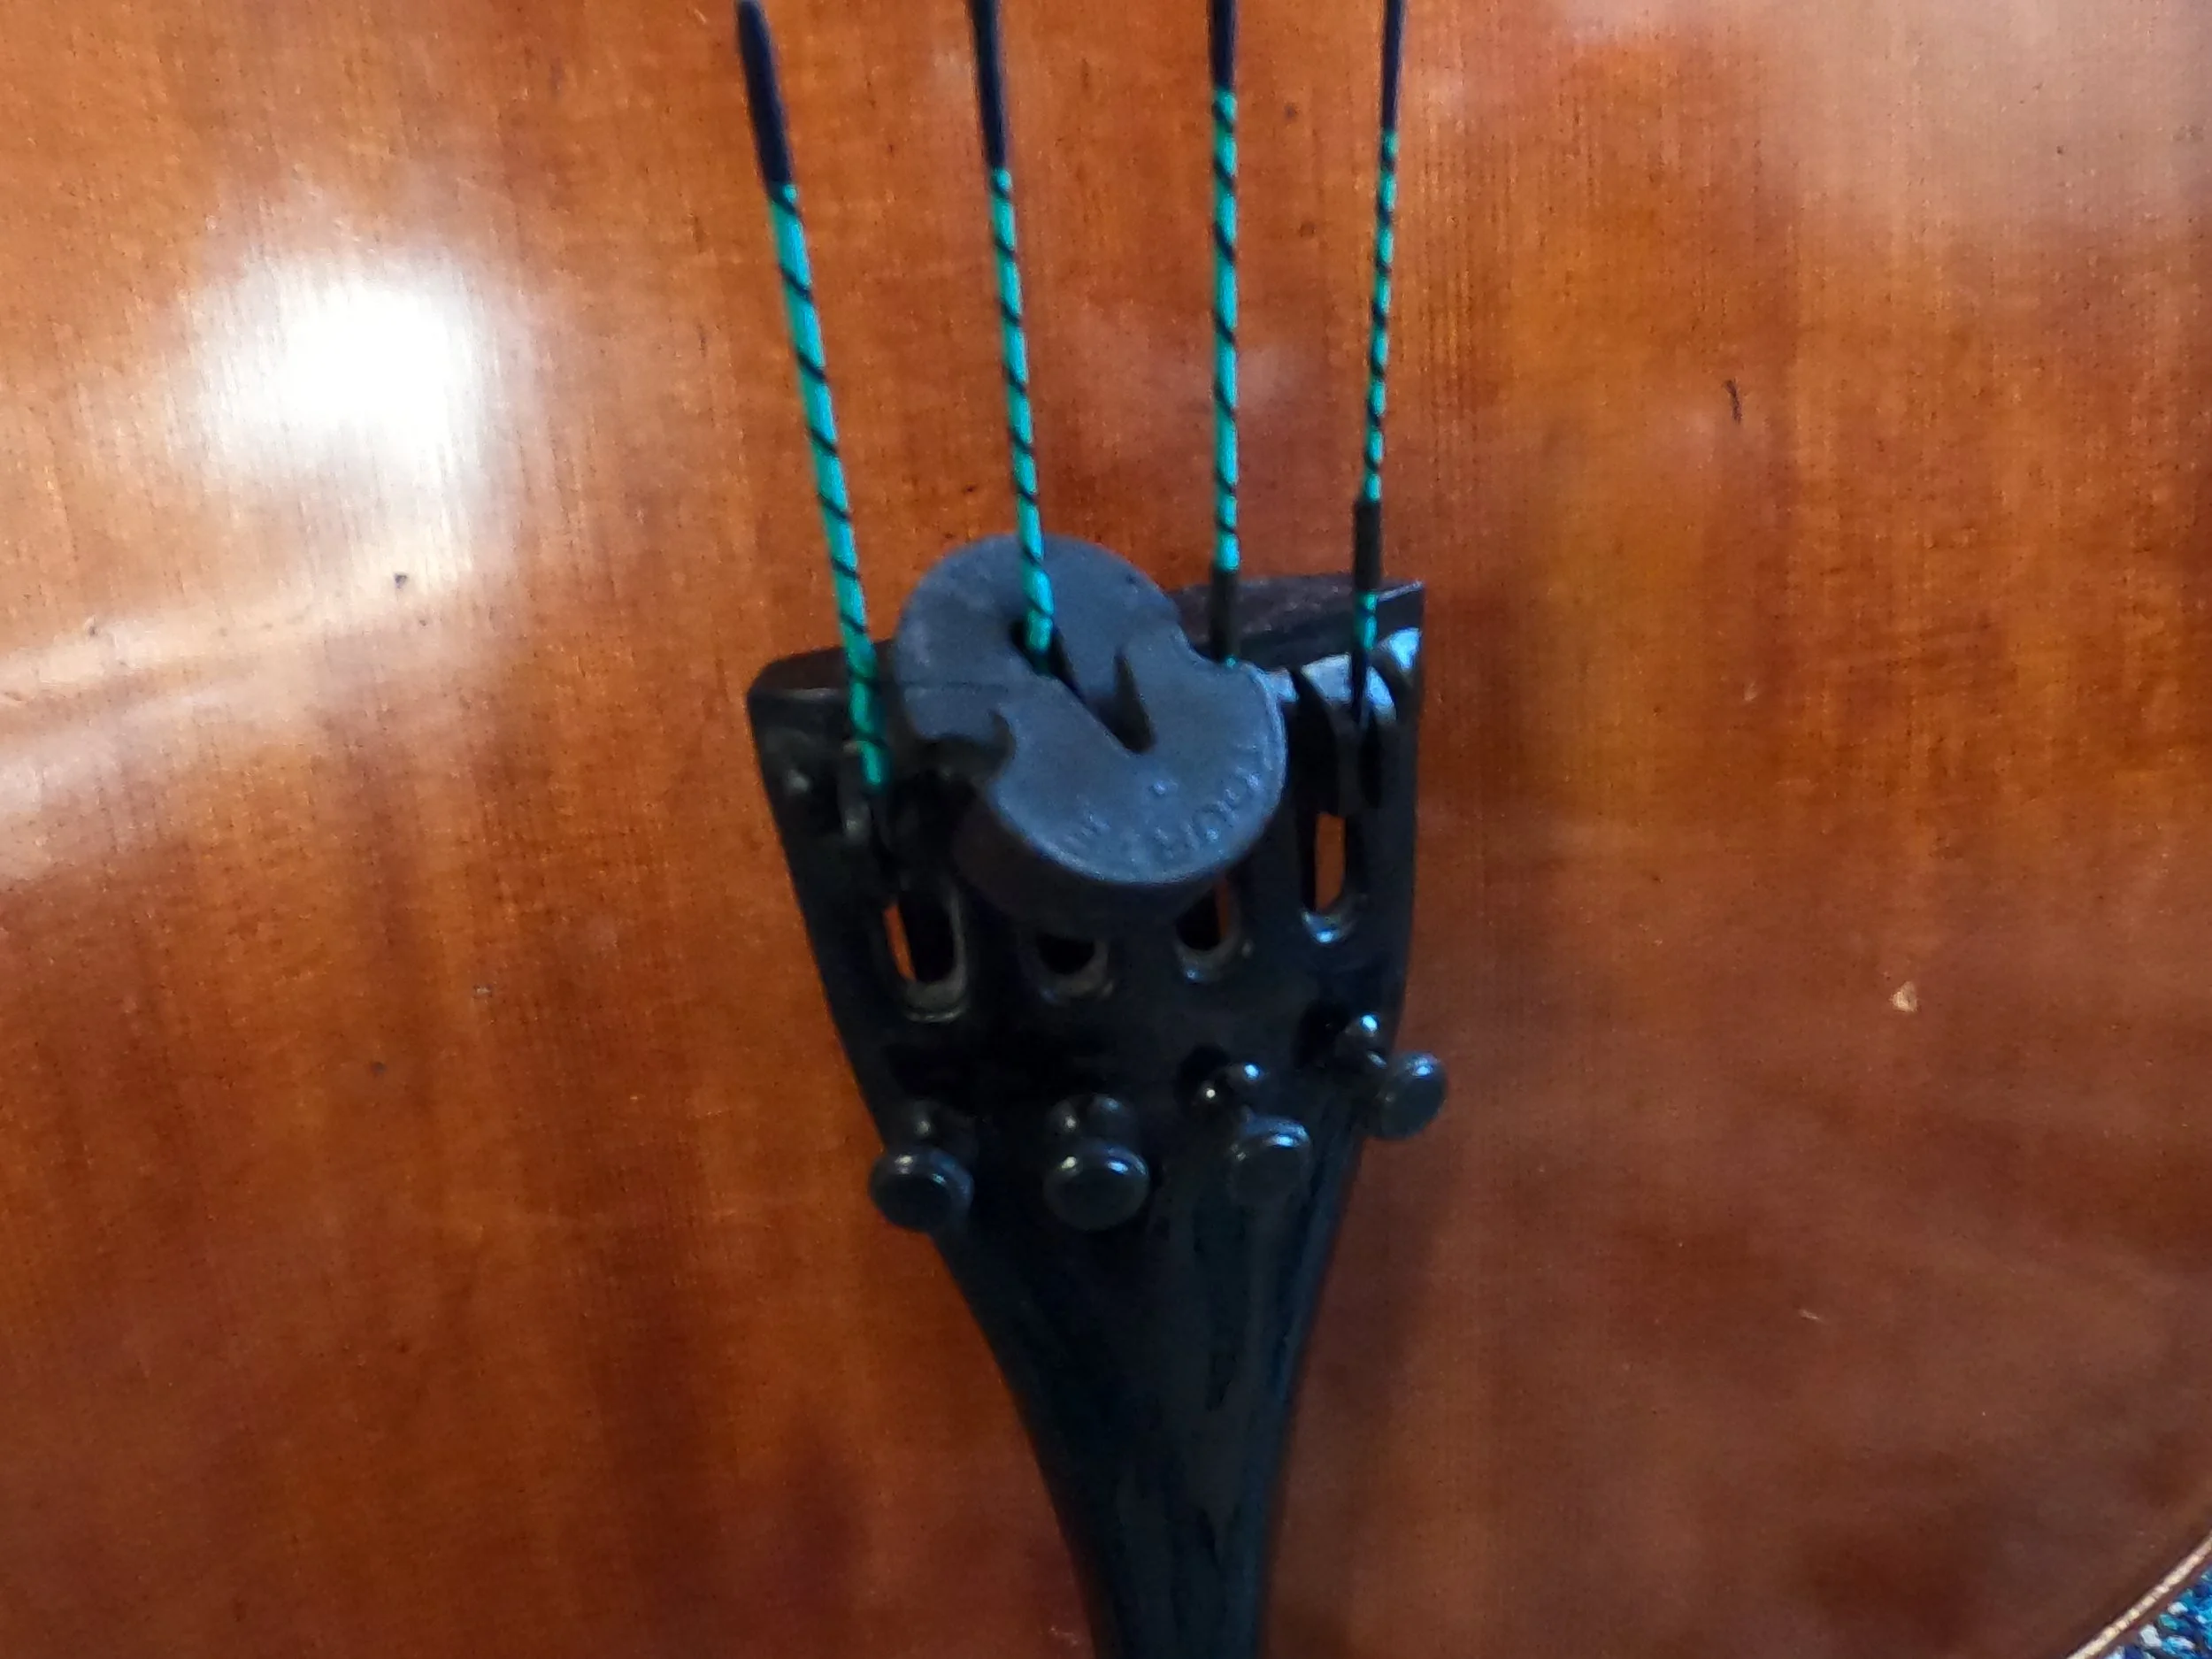
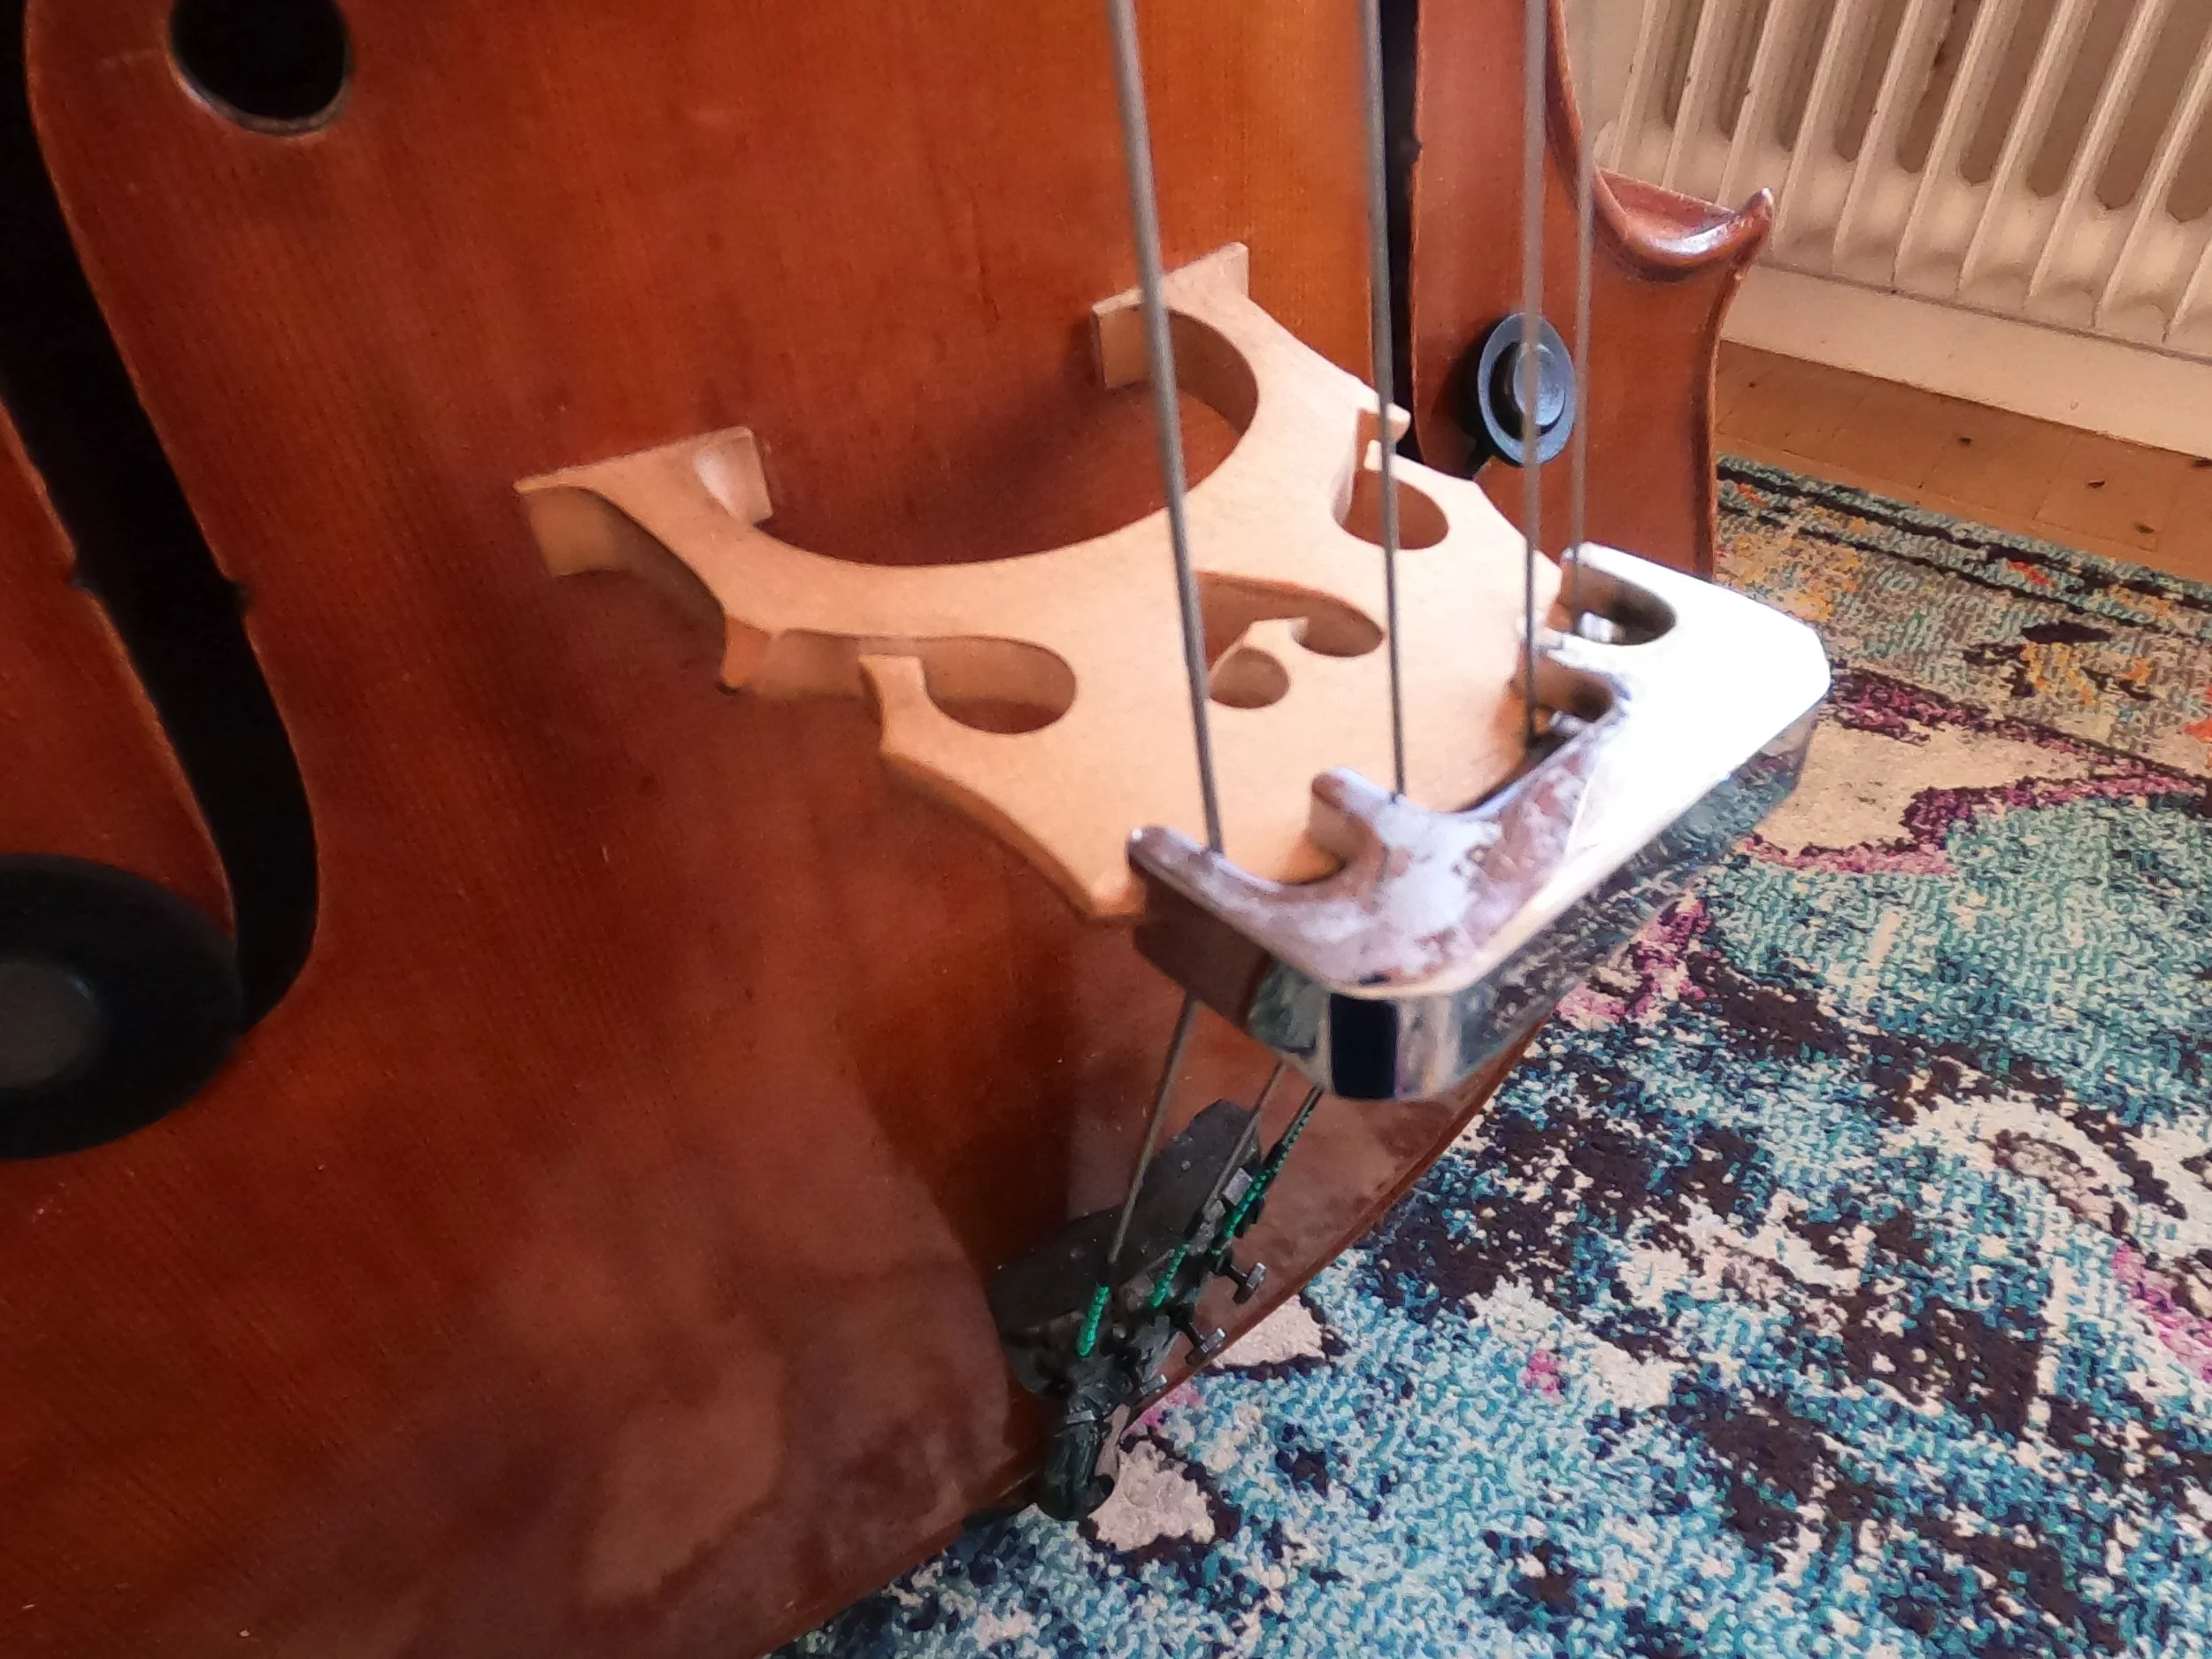
This is the one I use the most. It often hangs out there on the two middle strings. You can place it there by easing it onto one string on either side, through the small gaps in the rubber.
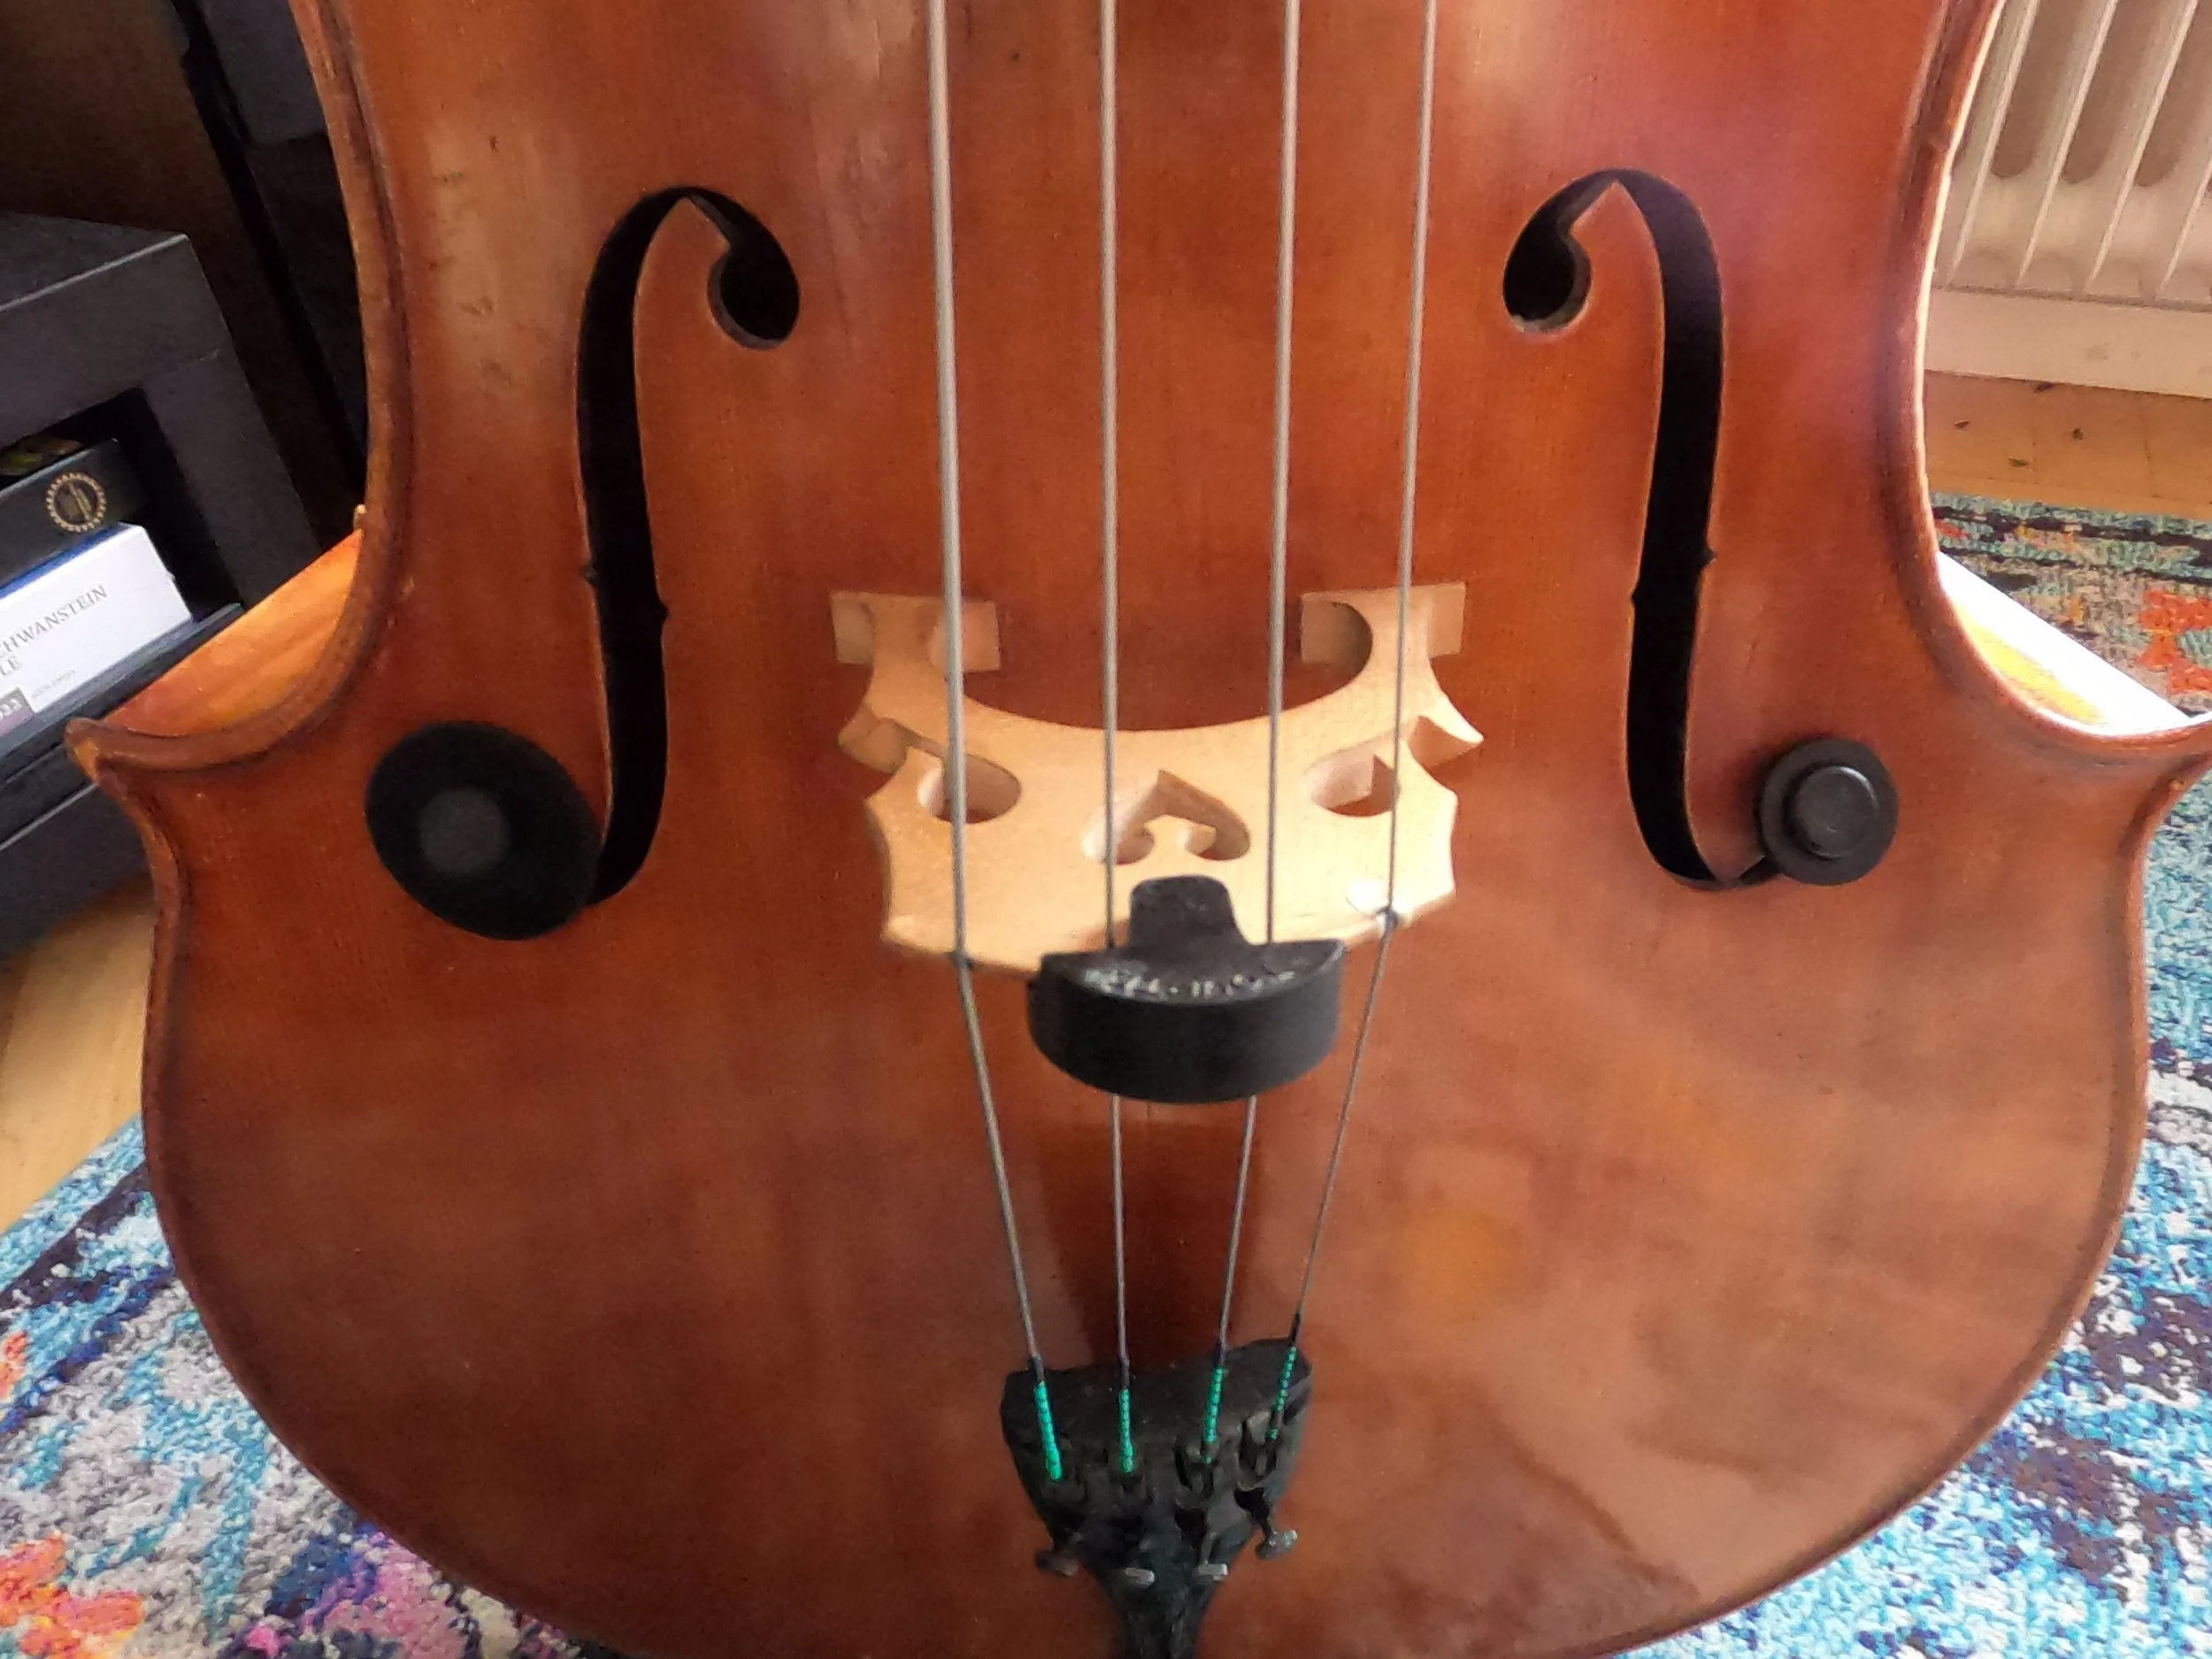
When you want to play with this mute, pull it along the strings it’s sitting on and place it firmly on the bridge.
The metal mute is only attached to the cello when it’s in use. The vibrations from the cello during playing can sometimes knock off the mute, in my experience…! Maybe the one with a black covering sits better..?
That’s it for today! Feel free to post a question or comment below.
-Ragnhild